BH10 coc base layout for Builder Base Copy Link

Latest Reviews 7
Strategy Explanation
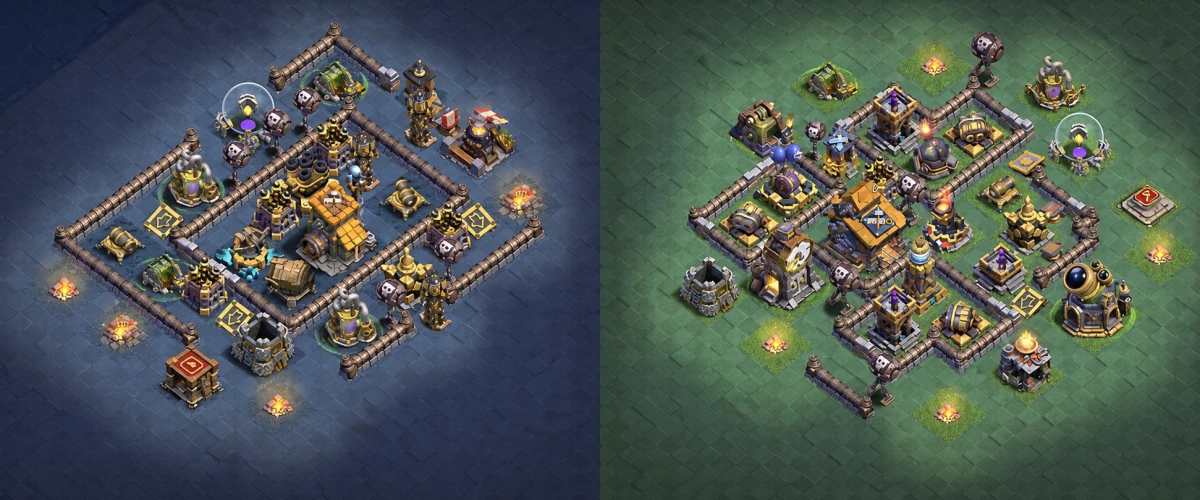
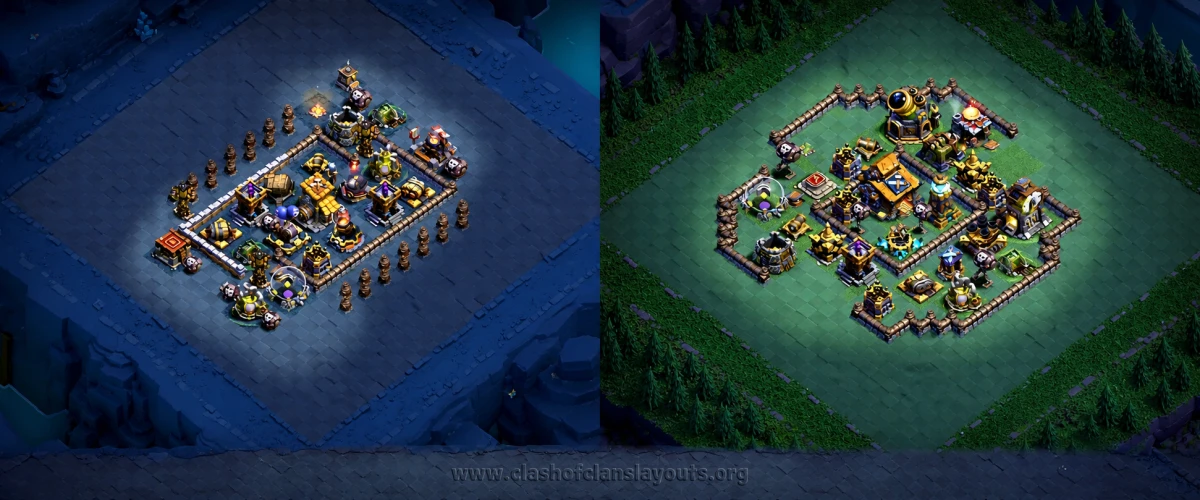
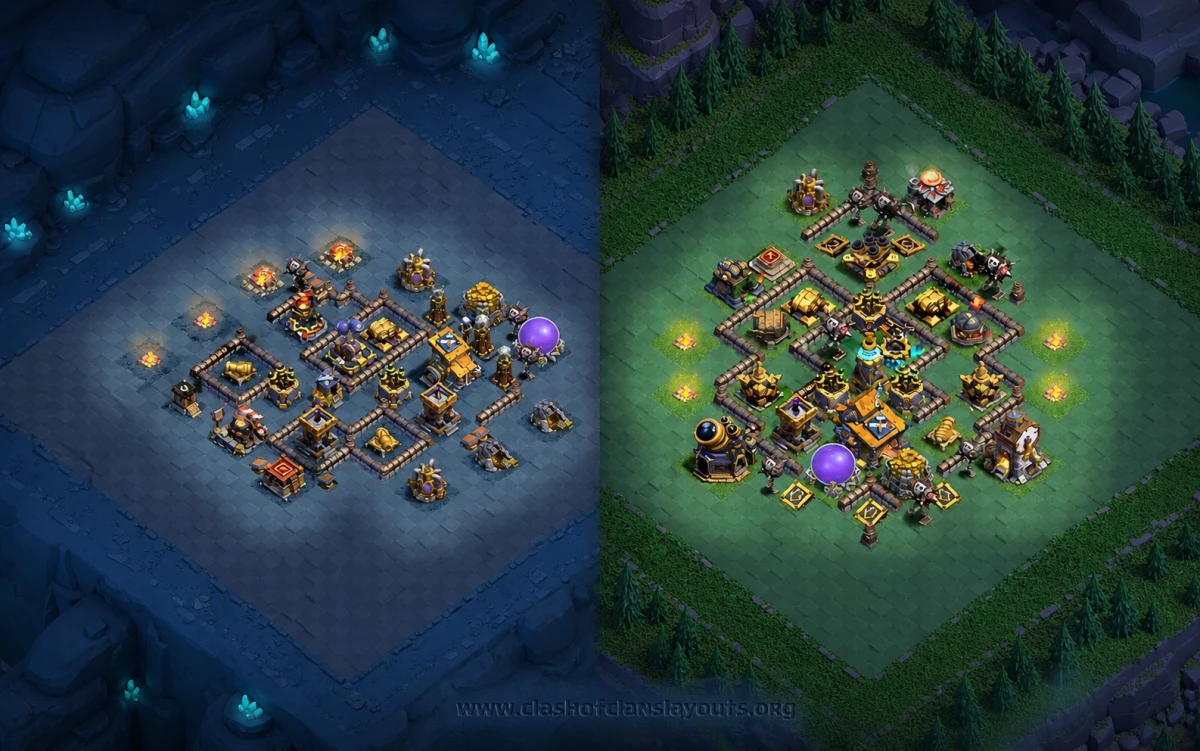
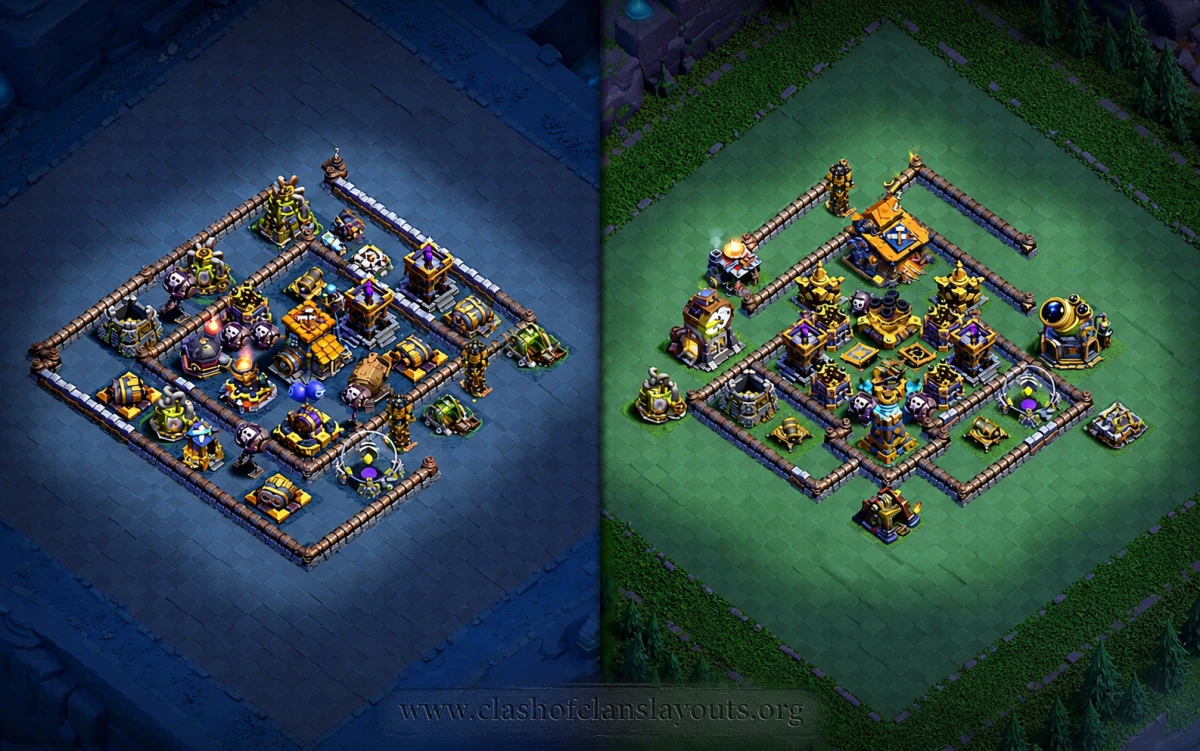
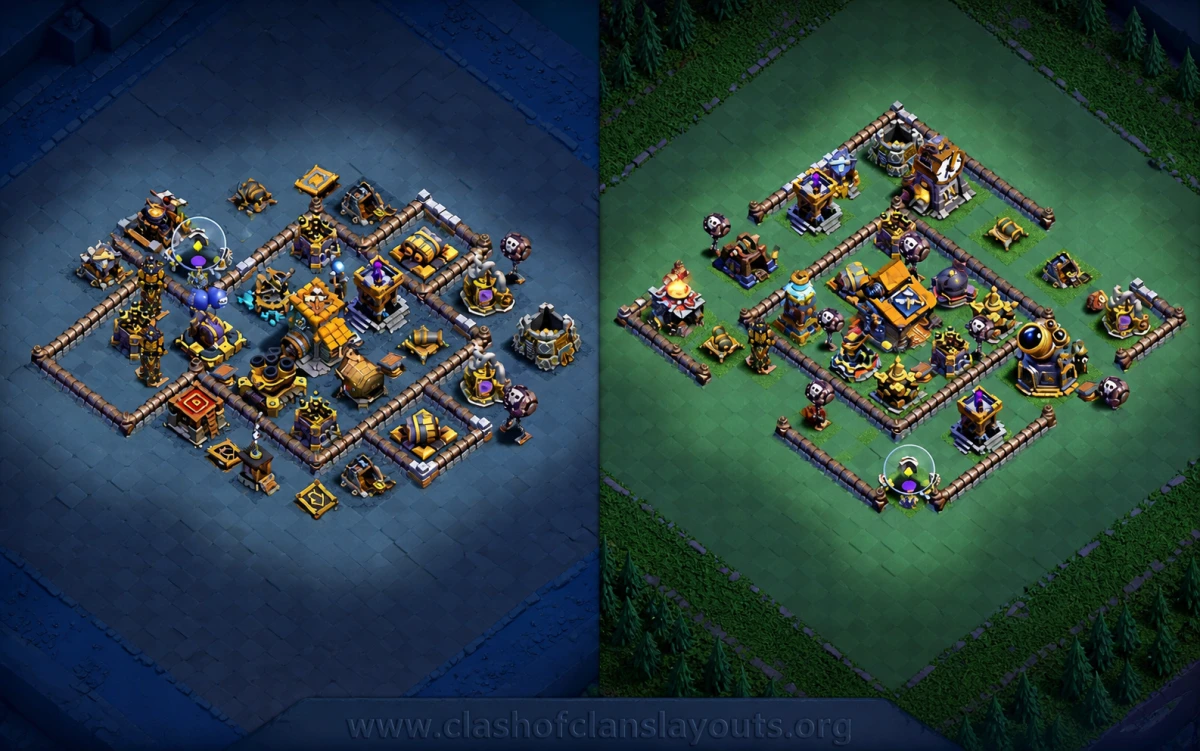
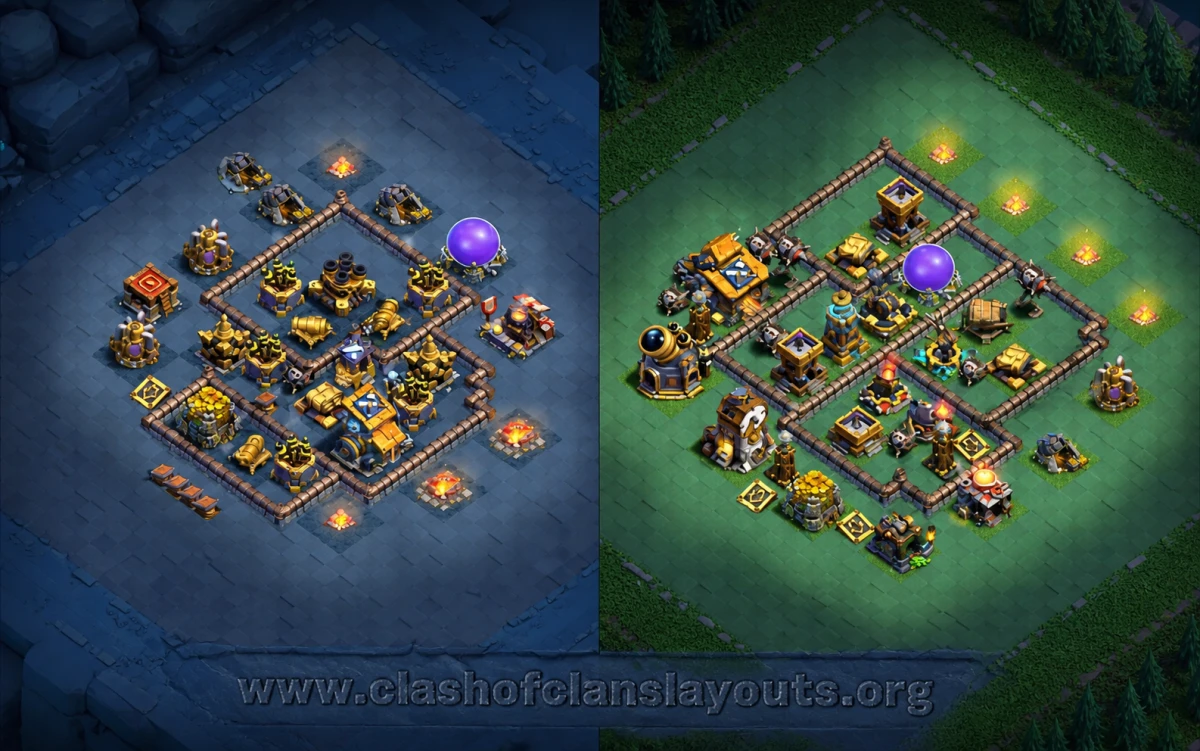
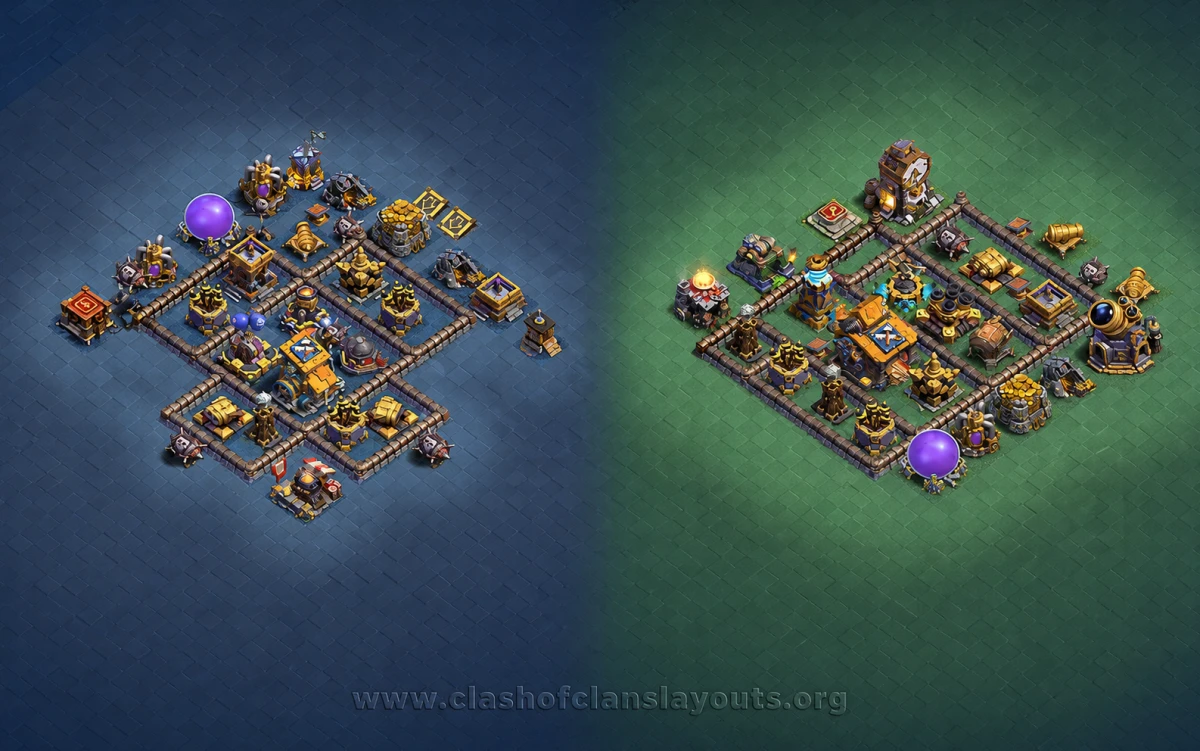
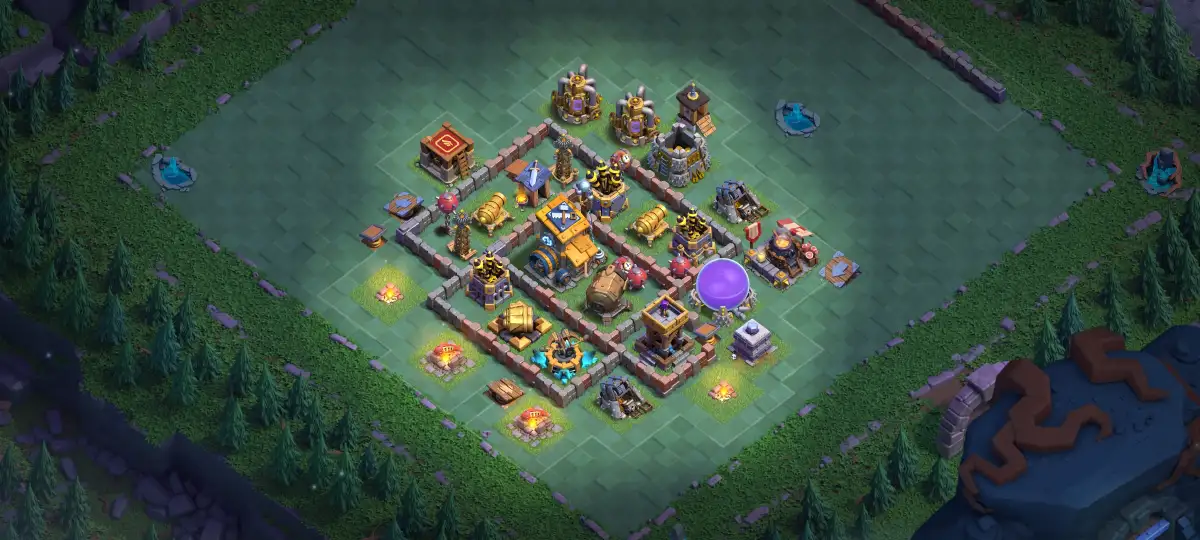
This BH10 Builder Base uses a tight, square-style defense with the Builder Hall placed slightly left of the main core instead of being left on an easy edge. The goal is simple: make the attacker spend troops breaking through walls and clearing awkward buildings before they can reach the Builder Hall and the stronger damage around it.
The first thing that stands out is the way the Hall is protected by nearby defenses rather than only by walls. The area around it has key damage buildings close enough to punish Boxer Giants, Battle Machine pushes, and rushed Cannon Cart lines. The layout also keeps several utility and resource buildings just outside the walls, which can be annoying for attackers because they either waste time clearing them or risk sending troops around the outside instead of into the base.
For a BH10 coc base layout, this is best used as a balanced Builder Base defense for players who want a copy layout that is not overly spread out. It is not trying to bait every possible attack from every side. It is trying to make the main entry messy, keep splash damage relevant, and force the attacker to commit before they know exactly how clean the path will be.
Strengths
- Builder Hall is not free: The Hall sits behind walls and is covered by several nearby defenses, so quick snipes are much harder than on open layouts.
- Good ground pressure: The wall shape and inner defenses can slow Boxer Giants, Battle Machine entries, and Cannon Cart support if the attacker picks the wrong side.
- Nice splash value: Defenses around the middle can punish groups of Barbarians, Archers, Night Witches, and swarm support when they step into the main fighting area.
- Outside buildings help pathing defense: Camps, collectors, storages, and other structures on the edge can pull troops away from the Builder Hall path.
- Works well for casual trophy pushing: It has enough protection around the important buildings to hold up against rushed or careless BH10 attacks.
Builder Hall Protection
The Builder Hall is placed inside the main wall ring, with nearby defensive coverage making it expensive to reach. This matters at BH10 because many attackers look for quick Hall value with Battle Machine tanking, a few Giants, or a ranged backline. Here, they need to break through or walk around the wall pattern first, and that delay gives the surrounding defenses time to stack damage.
The Hall position also helps against players who drop troops too wide. If the army splits toward the outside resource buildings, the main push can lose strength before it reaches the Hall. That is exactly what you want from a Builder Base layout: not just raw damage, but awkward troop movement.
Ground Pathing and Wall Pressure
The walls create several small lanes around the middle, which makes ground attacks less direct. Boxer Giants and the Battle Machine can get held up while support troops stand behind them, and if the entry is not clean, Cannon Carts may end up firing at the wrong buildings first. The lower side also has enough buildings to distract troops, so attackers cannot always force a straight line into the core.
This is especially useful against players who rely on one heavy push. If they drop everything from one side without trimming the outside first, the army can bend around the base while the main defenses stay active for longer than expected.
Air Defense Coverage
The layout has anti-air defenses placed close enough to the important area that air troops cannot simply float straight through without taking damage. Firecracker-style coverage and air-targeting defenses near the middle are important because BH10 attackers often mix Drop Ships, Minions, Baby Dragons, or Night Witch bats depending on the matchup.
The base does leave some outside buildings available for air troops to pick off, so good attackers may still build percentage before entering the dangerous part. The main value is that the Builder Hall area is not isolated. Air units still have to cross into a defended zone if they want the biggest reward.
Core Splash and Tank Control
The defensive value of this layout comes from how the splash and heavy defenses support each other. When tanks step into the middle, they are not just fighting one defense at a time. They can be hit from multiple angles while the walls slow their movement. That is helpful against Giant-based attacks and also against spammy troop drops that depend on overwhelming one side quickly.
The storage placement also gives the base a bit of extra stalling power. High-hitpoint buildings near the fighting area can hold troops in range longer, which lets the main defenses do more work.
Copy Layout Tips
If you use the copy layout option, place your traps with a purpose after copying. Spring traps are usually best near likely Giant and Battle Machine routes, while air traps should sit where Drop Ships or Baby Dragons are expected to enter. Do not move the Builder Hall to the edge