Smart BH10 Coc Layout | Gold Saver | Builder hall 10
Latest Reviews ()
Strategy Explanation
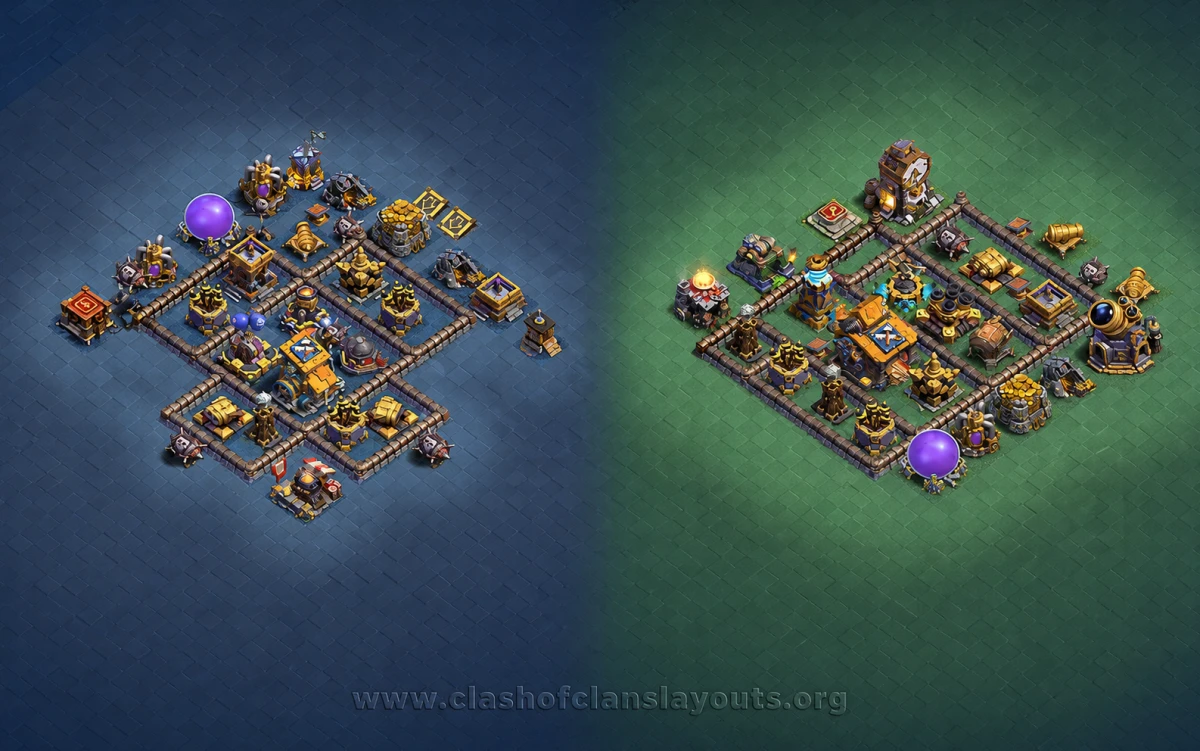
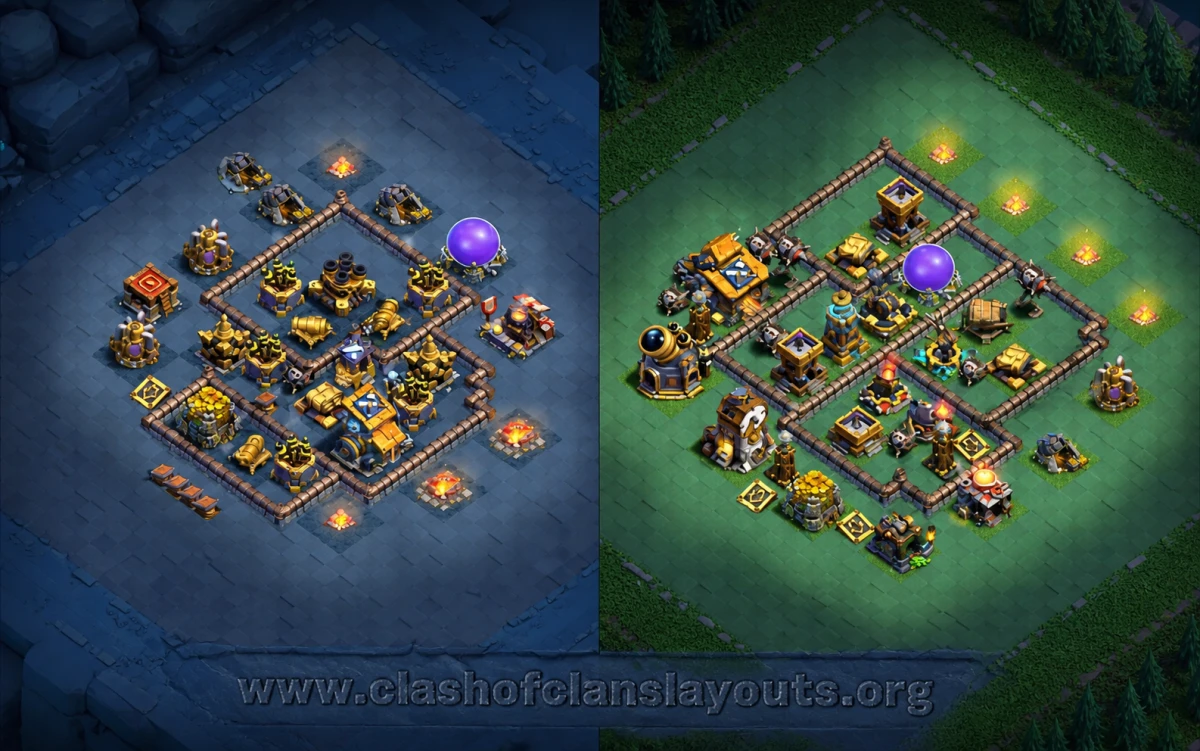
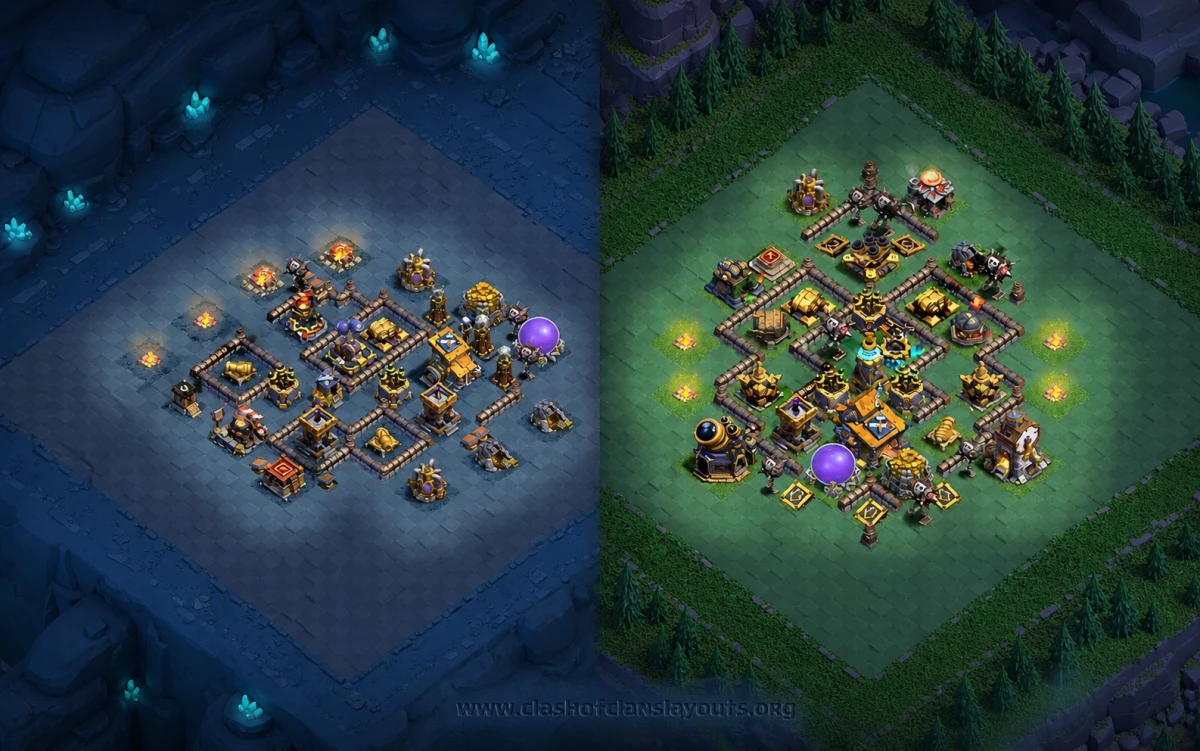
This BH10 war layout leans into smart pathing and gold protection across both stages. Stage 1 (green terrain) centers the Builder Hall in a tight diamond core with layered compartments, while Stage 2 (dark cavern) mirrors that style around the OTTO Outpost. The idea is to bait heroes into narrow entries, stall them on bulky storages, then finish them with overlapping high-DPS cores. Roaster + Air Bombs are split to force air spam to fly through at least one heavy splash zone, and the X-Bow/Ricochet Cannon lines punish stalled ground pushes. Push Traps are aimed to throw troops into Crushers or back across walls so the Giant Cannon and Mega Tesla can stay on target longer.
It’s a “Gold Saver” by design: storages are spread in separate boxes on both stages, never clumped, so snipes don’t swing much loot and attackers burn time and troop ability charges before they even touch the Hall/Outpost.
Strengths
- Centralized win condition: Builder Hall and Outpost sit behind multiple compartments; early hero dives don’t reach them without clearing several layers.
- Air denial lanes: Roaster and Air Bombs sit on opposite sides with Firecrackers at angles, creating crossfire that breaks Drop Ship–Minion and Night Witch paths.
- Ground punish: Crushers guard the most obvious entries; Giant Cannon and Mega Tesla cover the approach to the core, while the X-Bow beams through stalled tanks and carts.
- Trap synergy: Push Traps funnel into Crusher pockets; Mega Mines sit where troops regroup after wall breaks; standard Mines ring high-value defenses for Hog Glider follow-ups.
- Time sink: Storages and Builder Base utilities are used as buffers inside compartments, dragging hero ability timing.
Stage 1 Breakdown (Builder Hall Side)
- Core: BH tucked inside a diamond of walls with Guard Post and Mega Tesla. Storages occupy the inner ring to soak DPS.
- Coverage: Giant Cannon lanes a main entry; X-Bow and Lava Launcher watch long corridors; Roaster plus a Firecracker sit opposite Air Bombs for crisscross air control.
- Baits: Push Traps along the southern and western edges toss into Crushers; Springs line the tight 1-tile steps between compartments.
Stage 2 Breakdown (OTTO Outpost Side)
- Core: Outpost centralized with short compartments around it; Double Cannon/Tesla pockets make sneaky-archer snipes expensive.
- DPS anchors: Ricochet Cannon and X-Bow are split to deny one-side floods; Multi Mortar and Archer Towers cover wide angles.
- Trap net: Mega Mine and Air Mines sit where troops/air regroup after the first box—right before the Outpost ring.
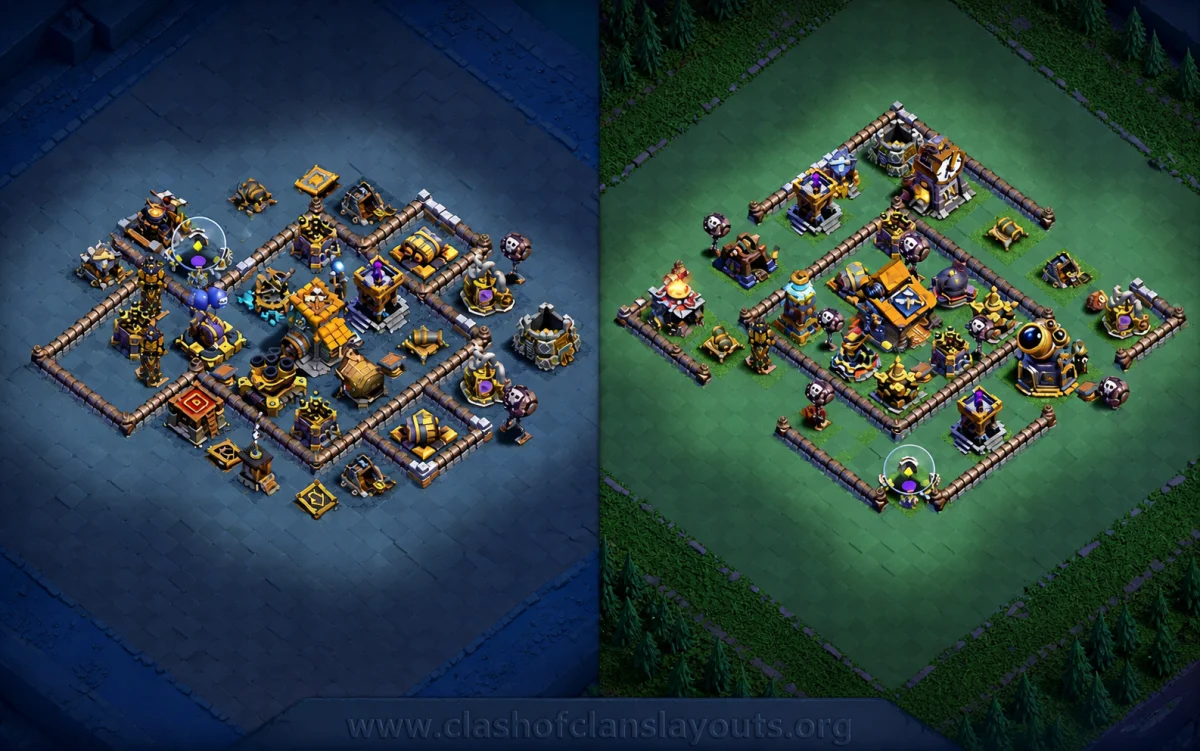
Build and Scout Tips
- Keep Roaster and Air Bombs on opposite halves; don’t let a single Freeze/ability neutralize both.
- If you see frequent cart snipes from one corner, rotate that side’s Push Trap to send troops across the Giant Cannon lane.
- Spread storages between stages to keep the “Gold Saver” effect even if one stage falls quickly.