Efficient BH10 Coc Layout | Goblin Base | Builder Hall 10
Latest Reviews ()
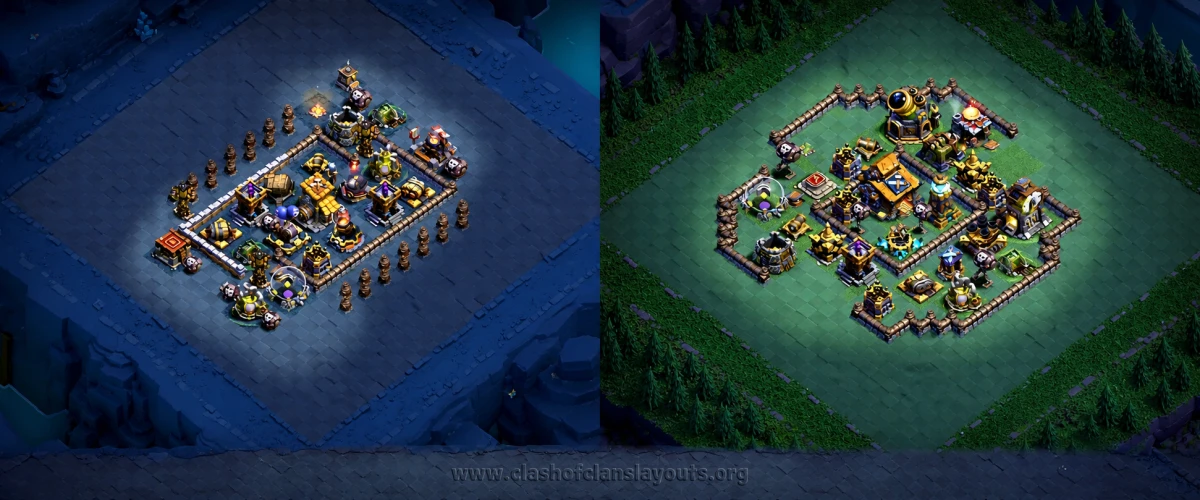
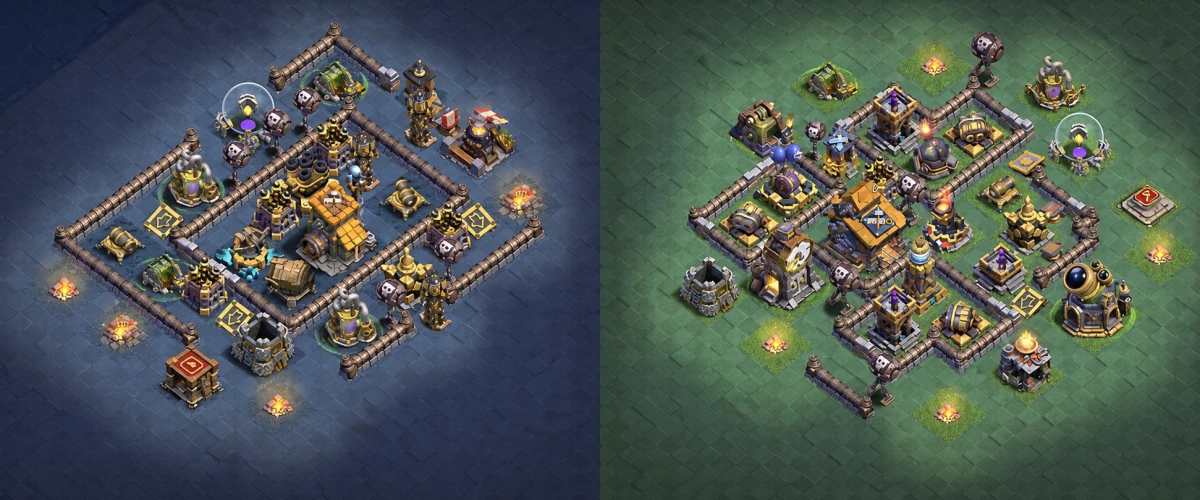
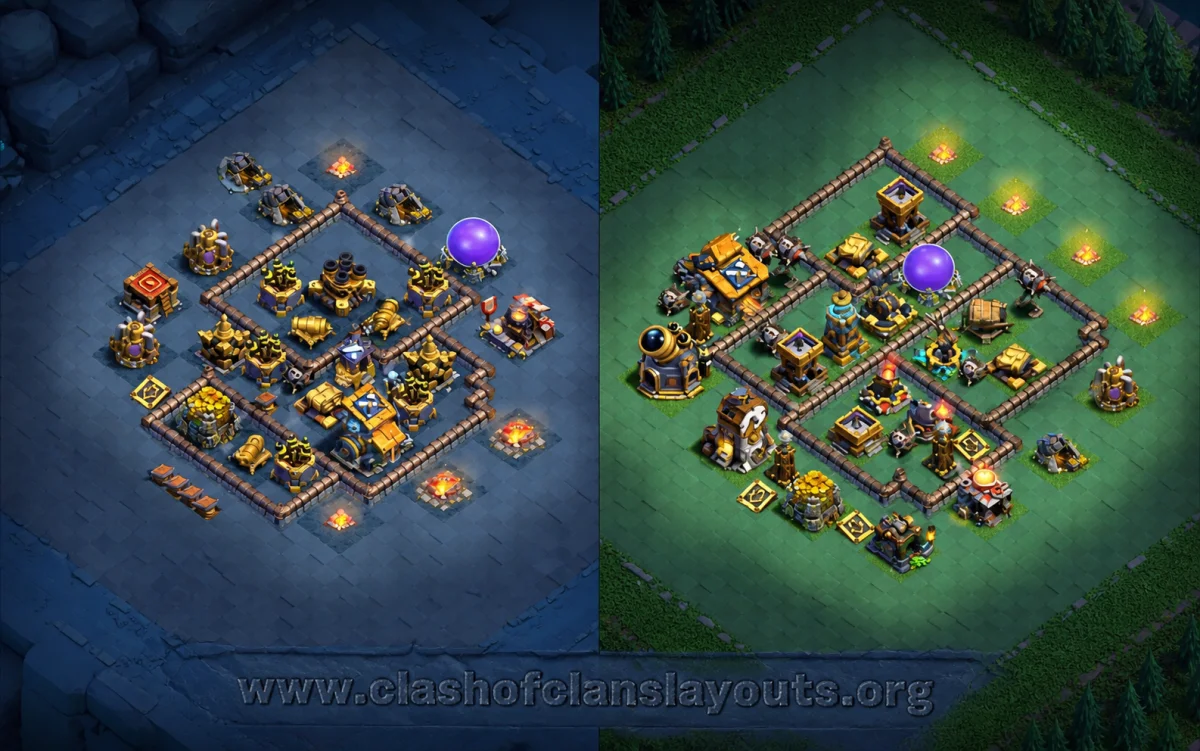
Strategy Explanation
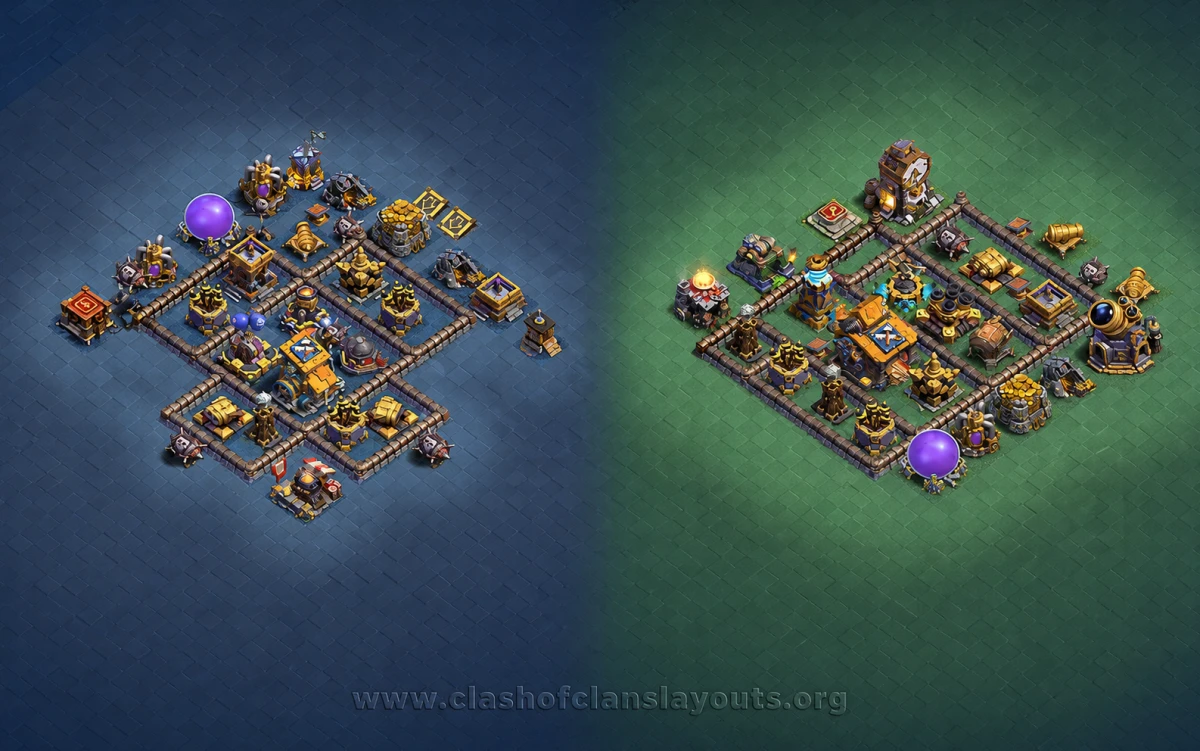
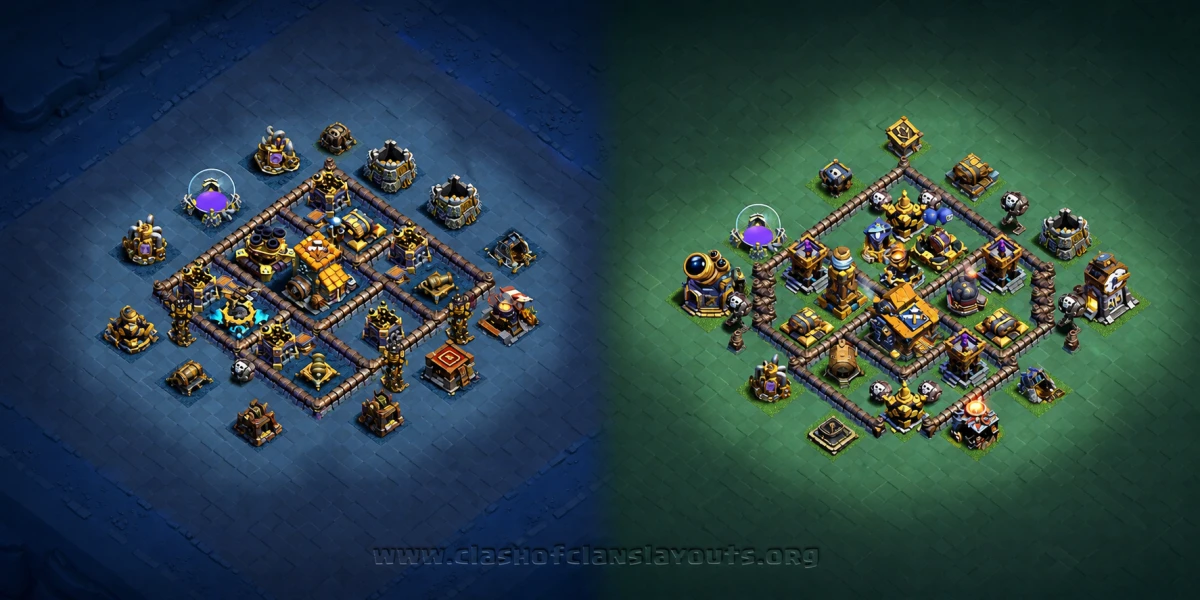
This BH10 war layout uses a rotated diamond with tight, offset compartments to slow pathing and stack splash damage. The Builder Hall sits in the inner ring with the Mega Tesla, Roaster, and Multi Mortar clustered around it. A second ring of small boxes holds Archer Towers, Double Cannons, and storages to keep ranged troops busy while the core burns them down. Notice the Air Bombs on the right side (the big purple balloon) tucked just behind a wall segment and paired with a Firecracker and Archer Tower—this punishes mass Minions and Beta drop-openings from that edge.
Crushers are split on opposite corners of the diamond to catch Raged Barb and Boxer Giant pushes after the first wall break. The Giant Cannon lines a long diagonal lane into the core, forcing Giants and PEKKA carts to eat multiple shots if they choose that entry. External buildings are not scattered randomly; they’re nudged toward the corners to skew pathing into the open gaps where push traps and spring traps are likely waiting.
Strengths
- Anti-air core: Air Bombs protected behind walls and overlapped by Firecrackers and Mega Tesla make Minion spam and Baby Dragons fizzle after 40–60%.
- Staggered splash layers: Roaster and Multi Mortar sit just behind the first compartment line, so troops that break in are immediately met by sustained splash.
- Crusher crossfire: Split Crushers deny easy Giant/Barb funneling from either diagonal and cover each other’s blind spots.
- Time burn: Storages and camps on the outer ring tax clock-based attacks and reduce cleanup for 2-stars.
- Trap-centric entries: Open corners and small gaps suggest “free” access but are clearly designed to chain push traps toward Crushers and the Giant Cannon lane.
Trap and Rotation Notes
- Keep push traps at the corner gaps pointing into Crushers or the Giant Cannon lane; don’t point them out of the base.
- Place spring traps just behind the first wall break points on both diagonals to catch tanks after they trigger a push.
- Stagger mines (air) around the right and top edges to support the Air Bombs—swap a couple to ground if you face Barb/Cart spam in your clan war bracket.
How It Defends Common Armies
- Minions/Baby Dragons: Air Bombs + Firecrackers + Tesla pathing force splits, while the Roaster flames grouped troops over the walls.
- Giants + Carts: Diagonal Giant Cannon shots and Crushers punish stacked entries; carts struggle to get sustained line-of-sight through the broken compartments.
- Hog Gliders: First wave may stun an Archer Tower, but overlapping coverage from the second ring and Mega Tesla cleans up if the Air Bombs survive.
Build Tips
- Level your Roaster and Air Bombs first—this layout leans on anti-air to secure low two-stars.
- Keep Guard Post central so its troops pull Minions off path and stall Giants inside splash range.
- If attackers keep entering from the right, rotate a Firecracker one tile deeper and swap a storage forward to keep the Air Bombs safe.
Who Should Use This
Great for clans facing frequent air-heavy BH10 attacks or mixed Giant/Cart spam. It’s an efficient, no-nonsense diamond that trades flashy traps for reliable pathing and slow, grinding defense—perfect for war where denying the high percent 2-star matters most.