High-Performance BH10 Coc Layout | Cluster Balloon | Builder

Latest Reviews ()
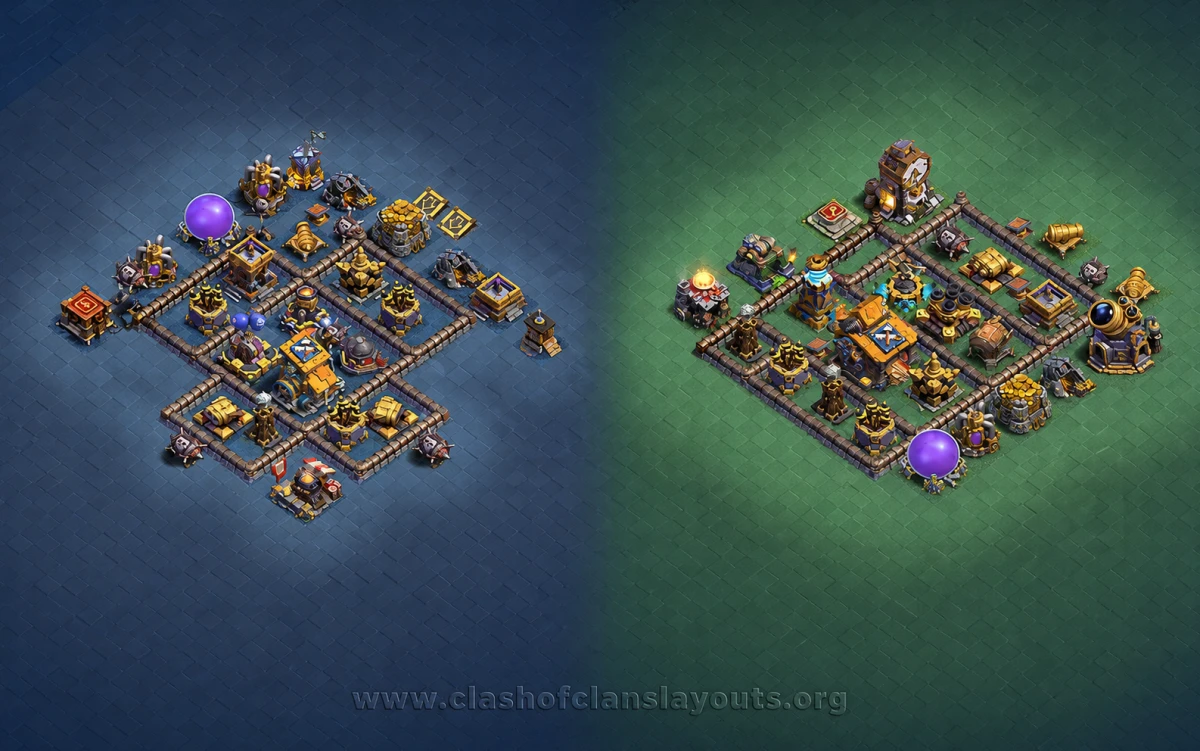
Strategy Explanation
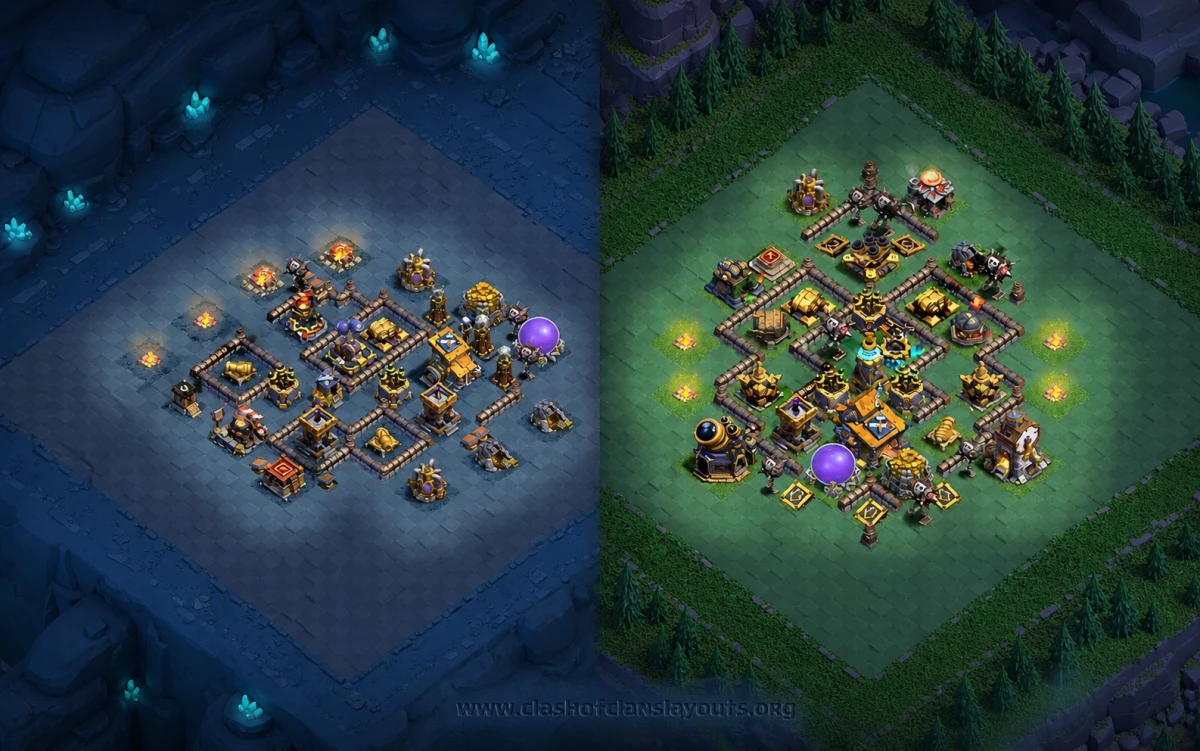
This BH10 war layout runs a two-stage, anti-air-first plan that tries to waste the attacker’s troops in Stage 1 and finish them off in the tighter Stage 2. The Stage 1 (green) base is a diamond with the Builder Hall slightly high toward 12 o’clock. Core defenses are stacked in a triangle around it: Roaster and Air Bombs inside, Mega Tesla and Giant Cannon covering the central lanes, and Crushers guarding the lower approach. Firecrackers are fanned out so at least two always cover the Battle Copter’s path and any Drop Ship or Baby Dragon push.
Stage 2 (cavern) is a compact square with the O.T.T.O Outpost dead center. Multi Mortar and Roaster are split on opposite sides to avoid being sniped together, and a ring of short-range DPS (Double Cannons, Cannons) cleans up anything that sneaks through. You’ll notice storages and utility buildings form a light trash ring to stall pathing while spring traps and push traps kick tanks into Crushers and the Giant Cannon lane.
The idea: force early Battle Machine ability in Stage 1 with Crusher pressure at the bottom and high air splash in the core, then punish the weakened army on Stage 2 where every entry leads through multiple point defenses and ground traps.
Strengths
- Clustered anti-air: Roaster + Air Bombs + Firecrackers overlap over the Hall, punishing Drop Ship–Minion and Baby Dragon spam.
- BM pathing tax: Openings and corners funnel the Battle Machine into Crushers and the Giant Cannon, especially from 6–7 o’clock.
- Split splash: Roaster and Multi Mortar are separated across stages/compartments, so one breach doesn’t collapse the base.
- Time drain: Diamond trash ring on Stage 1 and the tight Stage 2 square both chew seconds off Sneaky Archer and Cannon Cart pushes.
- War-ready scouting traps: Hidden Teslas and mines sit just off likely Archer snipe tiles around the lower diamond edges.
Trap and Pathing Notes
- Push traps along the lower-left lane fling tanks into a Crusher/Giant Cannon crossfire.
- Mega mine sits near 6 o’clock on Stage 1 to delete Drop Ship skeleton waves or Barb swarms mid-funnel.
- Small mines are tucked on likely Archer tiles around the outer diamond edges; rotate one if your replays show repeated snipes.
How to Defend With It
- Versus air spam, keep Stage 1 as shown—do not swap Roaster/Air Bombs. Their overlap is the win condition.
- Against cart-heavy ground, move one spring from the right edge to the lower choke to increase BM bounces.
- If opponents start Stage 2 often, slide one Cannon a tile inward so BM can’t snipe over the wall at the square’s corner.
Upgrade Priorities
- Roaster and Air Bombs to max for anti-air backbone.
- Mega Tesla and Giant Cannon for BM control.
- Crushers, then Firecrackers, then point defenses.
Best Attacks to Bait
Drop Ship + Minions, Baby Dragons, and sloppy Hog Glider entries tend to fail here. Clean Cannon Cart pushes are the toughest—scout replays and adjust springs accordingly.