Advanced BH10 Coc Layout | Greeny Skies | Builder Hall 10
Latest Reviews ()
Strategy Explanation
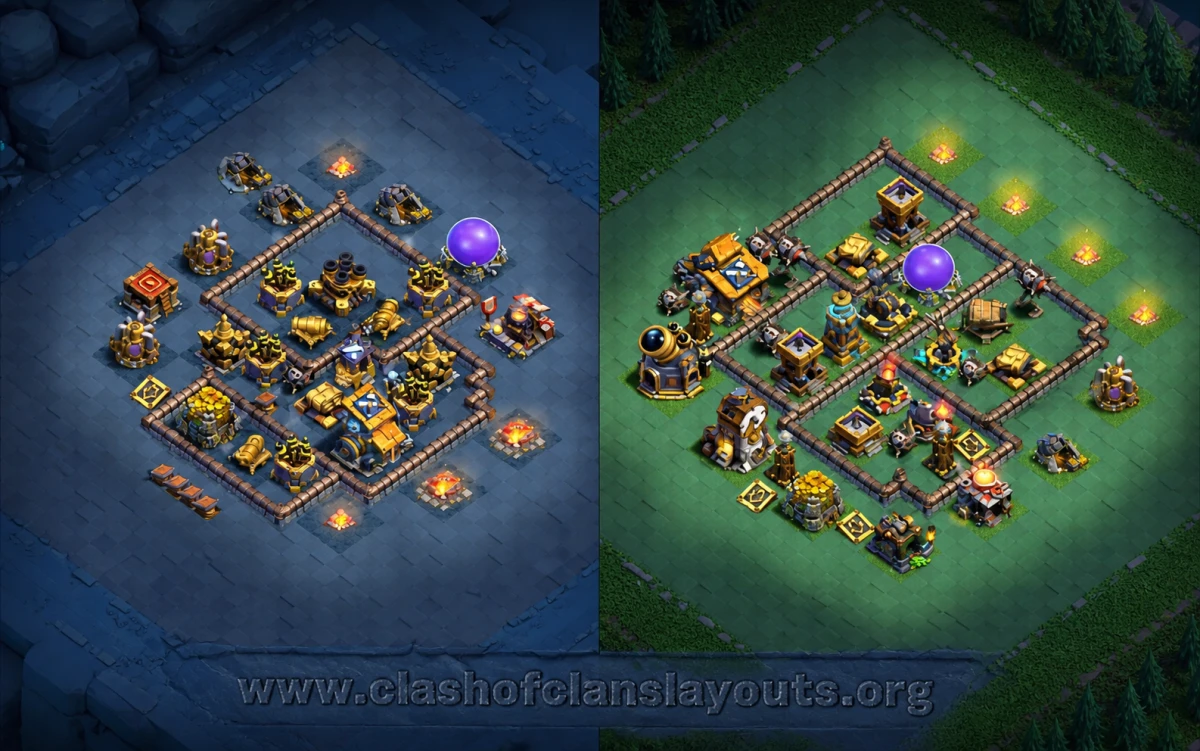
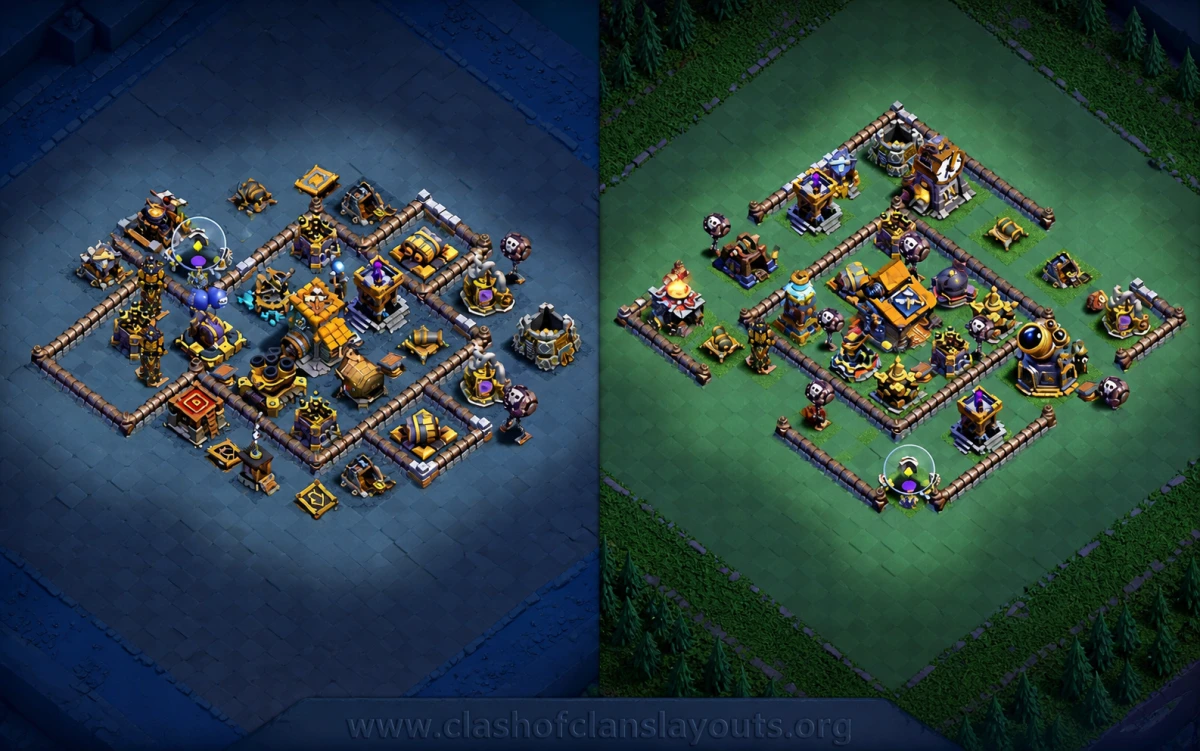
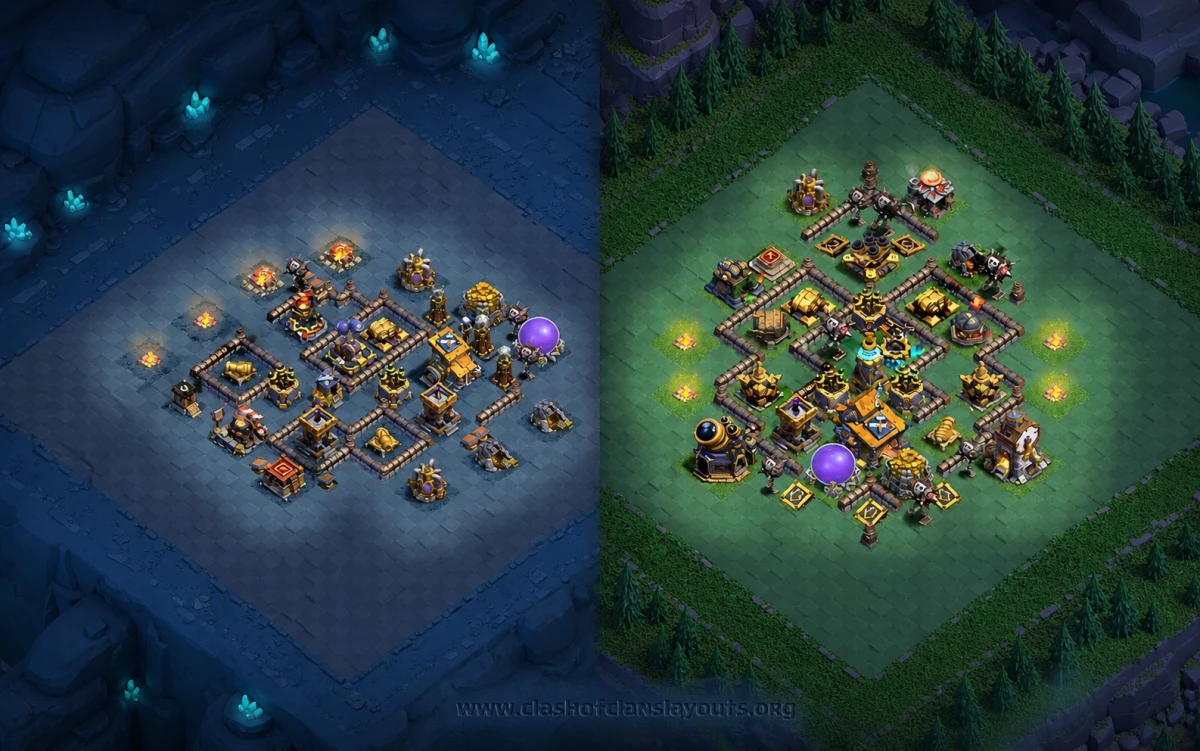
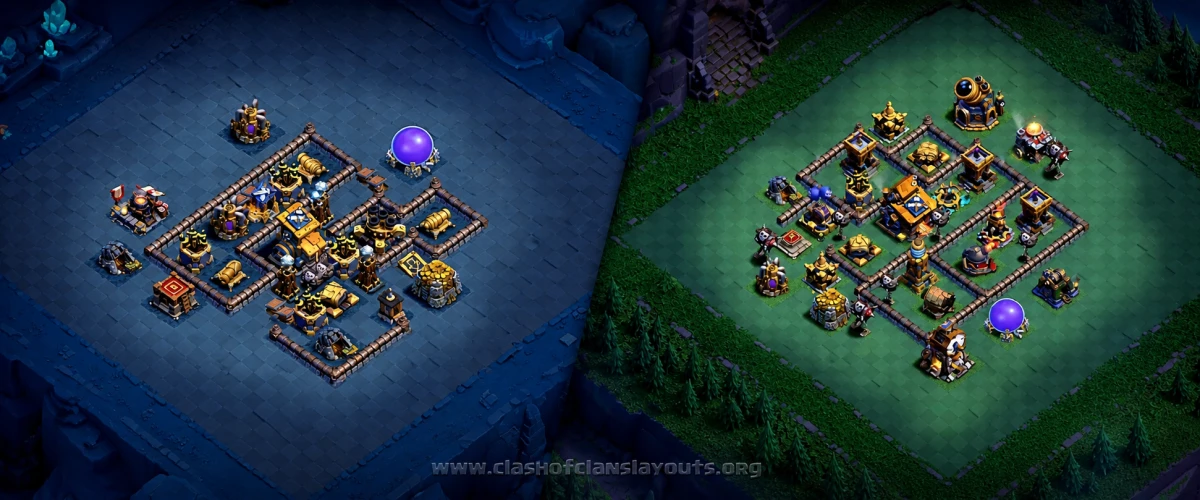
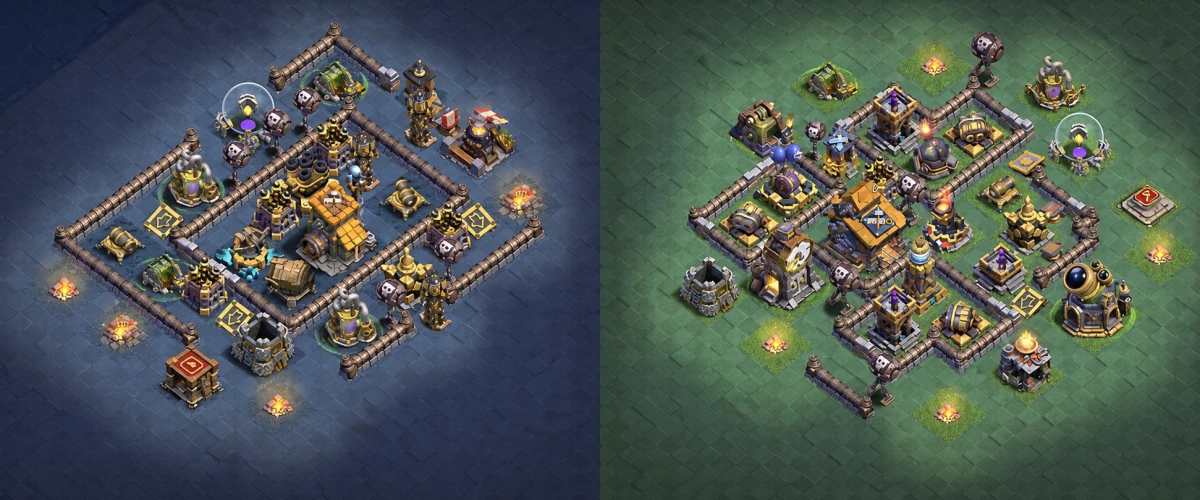
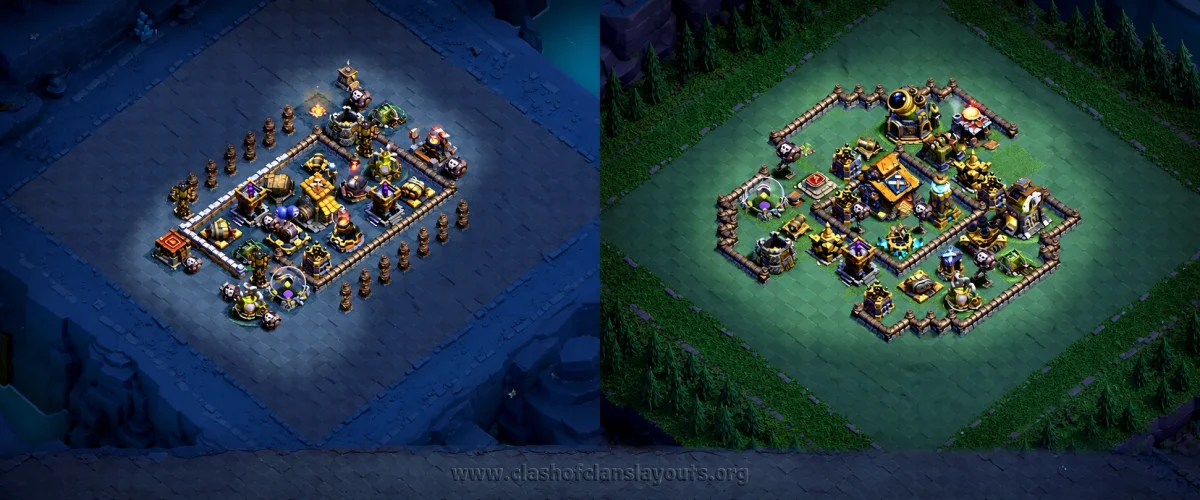
This BH10 war layout runs a two-stage plan. Stage 1 (bottom image) plays like a grindy, compartment-heavy approach with the Builder Hall tucked slightly high-central and ringed by layered defenses. Stage 2 (top image) shifts to a compact, right-side island of walls and key defenses surrounded by empty space and a ring of decorative bone posts that visually funnel troops but, more importantly, slow pathing and make troop AI hug the defended box. The goal is to force a long first stage where Crushers, Giant Cannon, and splash whittle tanks and carts, then finish attackers on Stage 2 with tight trap stacks and short‑range, high‑DPS cover.
Strengths
- Balanced air/ground cover: Roaster and Air Bombs crossfire the Builder Hall while Firecrackers anchor the corners. Ground is gated by paired Crushers and the Giant Cannon down low.
- Pathing tax: The outer zig‑zag wall on Stage 1 creates awkward entries. Small staggered gaps bait troops into springs and push traps.
- Core survivability: Mega Tesla and multi-target splash sit central, forcing Cannon Carts and Heroes to commit deep to claim the BH.
- Stage 2 choke: A square‑inside‑a‑square on the far right clumps defenses and traps; empty tiles all around punish careless drops and make timed wall breaks necessary.
Stage 1 Breakdown (Builder Hall side)
- Builder Hall sits high-central with Mega Tesla just off-center and splash layered behind it.
- Crushers guard the lower approach; Giant Cannon lanes the main entry and punishes Hero dives.
- Roaster and Air Bombs are split so at least one covers any Baby Dragon spread.
- Irregular outer wall adds dead tiles; pockets hide spring/mega mines near key turns.
Stage 2 Breakdown (OTTO Outpost side)
- Compact double-box on the right edge; most value sits inside the inner ring.
- Push traps aim to toss units back toward Crushers/short‑range guns at the front corner.
- Empty ground above/left of the box forces long walks and awkward hero angles.
Trap and Pathing Notes
- Place springs at the first tile inside each Stage 1 gap; pair a mega mine one turn deeper for Raged Barb/Cart packs.
- On Stage 2, stack a push trap into a Crusher with a ground mine under it; hide a seeking air mine on the opposite side to catch Baby Dragon rotations.
Recommended Tweaks
- If facing air-heavy clans, rotate the Roaster one compartment closer to the BH and shift a Firecracker to the weak corner.
- Versus cart metas, swap a storage with a point defense to break easy snipes on the Giant Cannon lane.