BH10 Base with Central Roaster and Split Builder Hall


Latest Reviews 0
Strategy Explanation
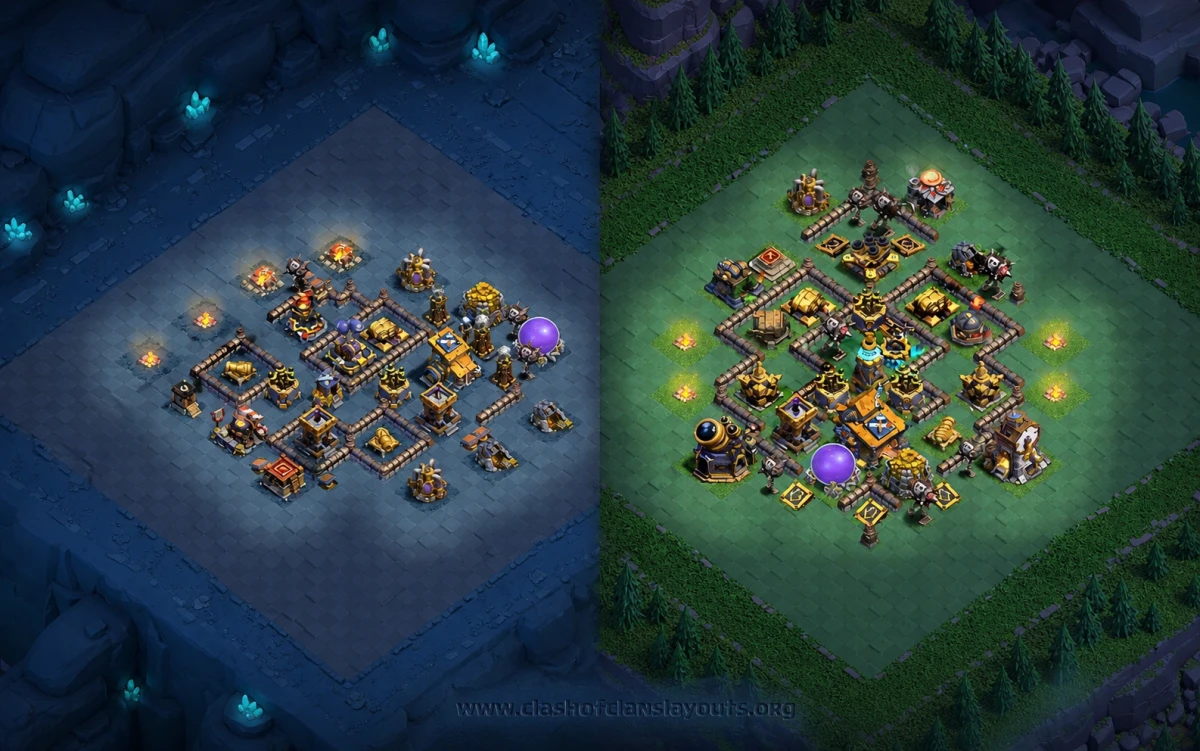
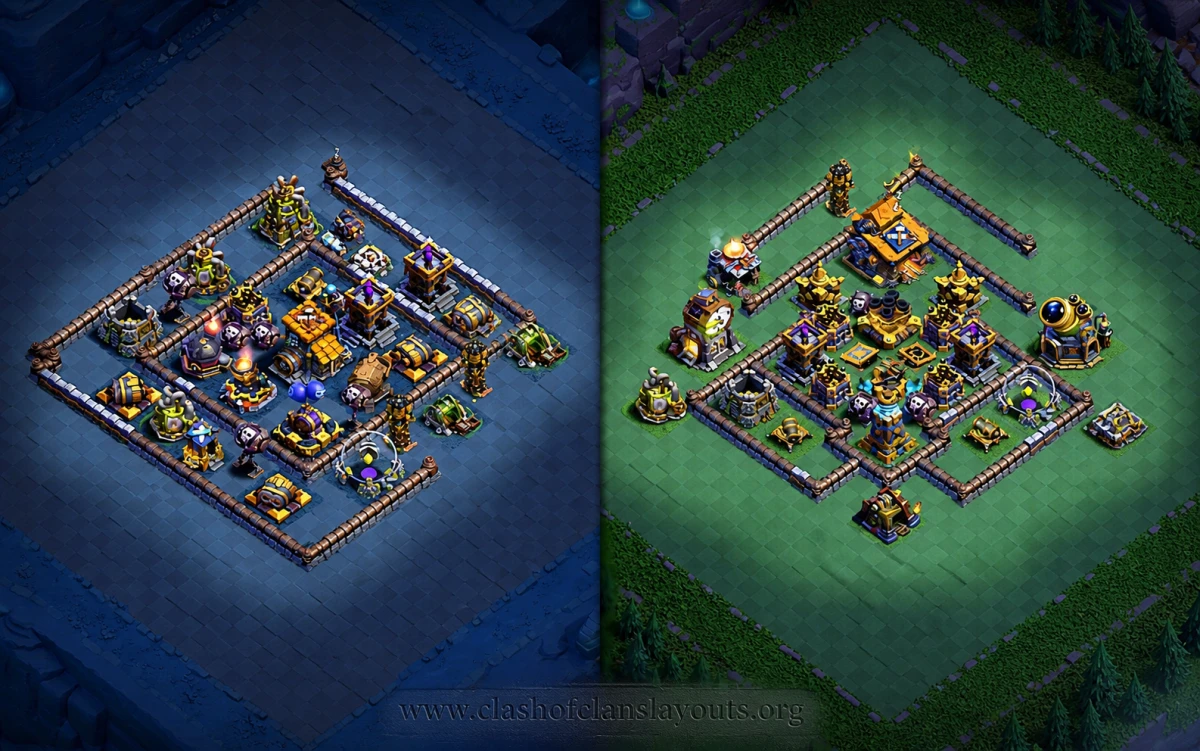
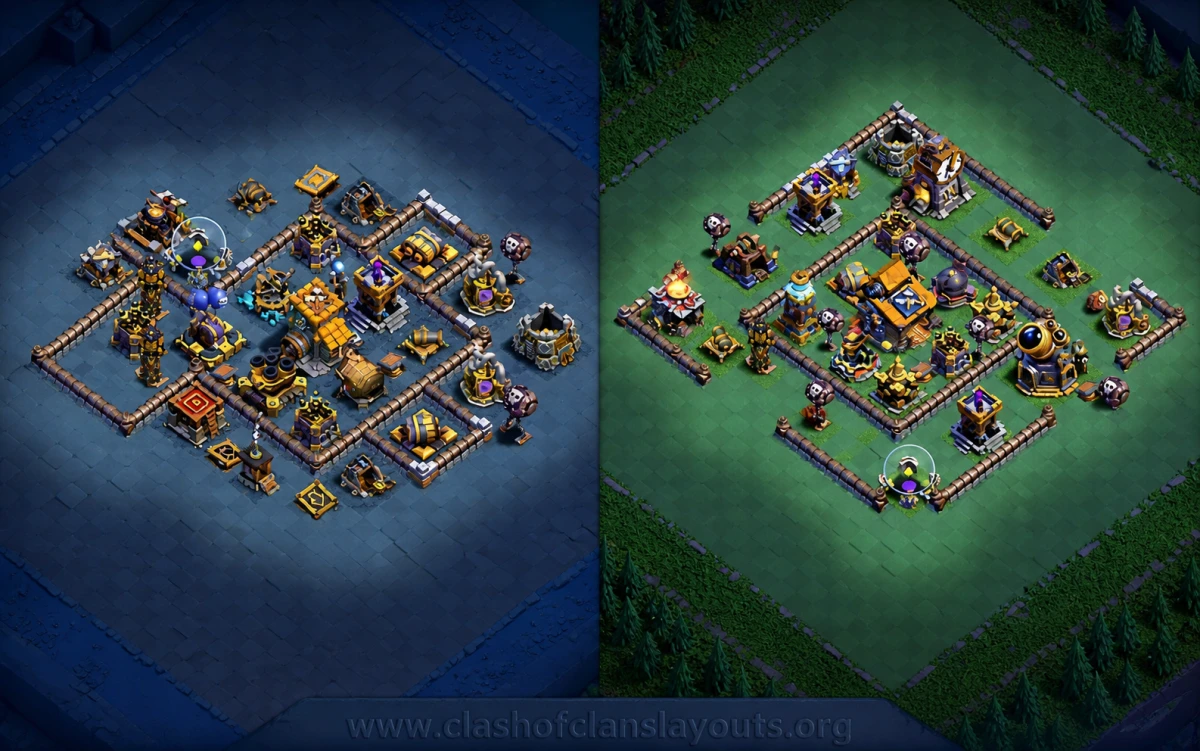
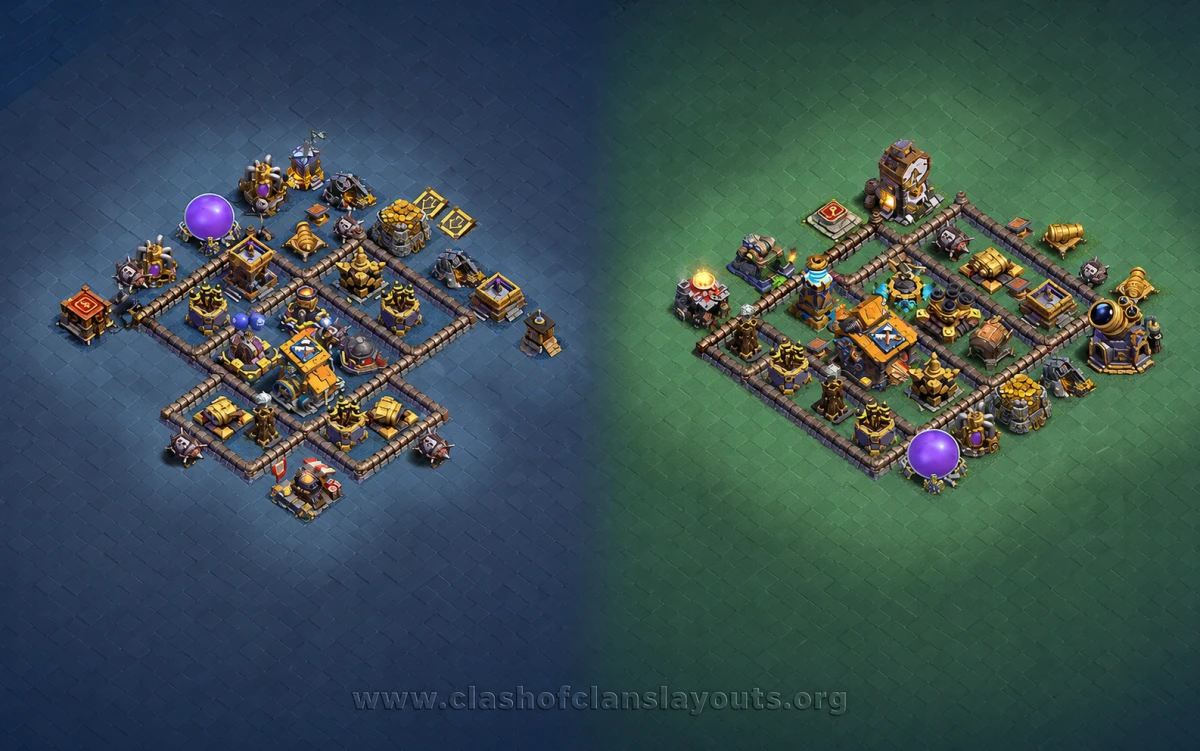
This BH10 layout is built around two clear ideas: keep the Builder Hall away from the center so attackers cannot take it together with the main defensive core, and use the middle compartment to force troops into heavy splash damage before they can reach the strongest targets. The central box holds the Roaster and several visible mines, making the core dangerous for swarms and fragile support troops that drift inward too early.
The Builder Hall sits on the upper left side rather than in the middle, while the larger high-value defense on the right side is also separated from it. That split matters. An attacker entering for the Builder Hall does not automatically get the same path into the right-side defenses, and a push started from the right has to work back through walls and compartments to finish the hall. This kind of distance can be useful in Builder Base because it pressures both stages of the attack instead of giving away one easy section.
The walls create a compact diamond-like center with angled outer segments. Those angles can redirect troop movement and produce awkward breaks, especially for ground units that do not go exactly where the attacker wants. Several defenses are placed with open space between them, so there is no single side where everything stacks tightly together. That spread also reduces the value of simple splash or chain pressure compared with a base that bunches defenses in a straight line.
Strengths
The main strength here is separation. Important targets are not layered on top of each other, so attackers usually need to commit to one side first and then rebuild pathing for the next section.
- Offset Builder Hall: The hall is defendable without being exposed in a corner, and it is not sitting in the same compartment as the central splash damage.
- Protected core: The boxed Roaster with visible mines around it makes the middle uncomfortable for mass troops and can punish overcommitted pushes.
- Wide defensive coverage: Key defenses are spread from left to right, which can make it harder to sweep the base in one smooth line.
- Awkward wall shapes: The angled inner and outer walls can create strange movement for ground troops and make direct access less clean.
Ground Attack Pathing
Ground attacks will often choose between two practical entries. The first is the upper-left route into the Builder Hall side. That path gives a direct objective early, but troops still need to turn inward afterward, and the inner wall geometry may split them away from the core. The second is a right-side entry toward the stronger standalone defense there, trying to remove a major source of damage before circling across the base.
Because the center is enclosed, attackers who rush straight through the middle risk losing momentum around the Roaster compartment. That makes this layout more comfortable against careless spam than against a patient, shaped entry.
Air and Drop Ship Pressure
Against air, the base benefits from not placing everything in one narrow channel. Defenses are spaced so air troops do not get immediate value from drifting over a single packed section. The central Roaster area is also relevant because support air units that stall over the middle can take concentrated damage.
Still, air attacks may like the open edges. If an attacker removes one flank cleanly, the remaining path can become simpler than it first appears. The right side in particular gives a visible anchor point for an air push to start shaping the rest of the attack.
Best Use and Practical Notes
This setup makes sense as an all-purpose BH10 base when you want a balanced defense rather than a fully cornered Builder Hall trap style. It asks the attacker to choose between separated objectives, and that alone can produce mistakes in Builder Base timing.
If you want to try it, use the copy option and watch how opponents approach from the upper-left and right edges first. Those are the most natural testing points and the clearest places to judge whether the current spacing fits your defense style.
What This Layout Tries to Deny
The visible design seems focused on denying an easy two-part sweep. It does not hand over the Builder Hall together with the strongest central damage, and it does not let one direct lane collect every important defense in order. Attackers can still break it with a well-planned entry, but they usually need cleaner funneling and better timing than they would against a more compact, predictable BH10.