BH10 Base Layout with Guard Post Core Pressure


Latest Reviews
Strategy Explanation
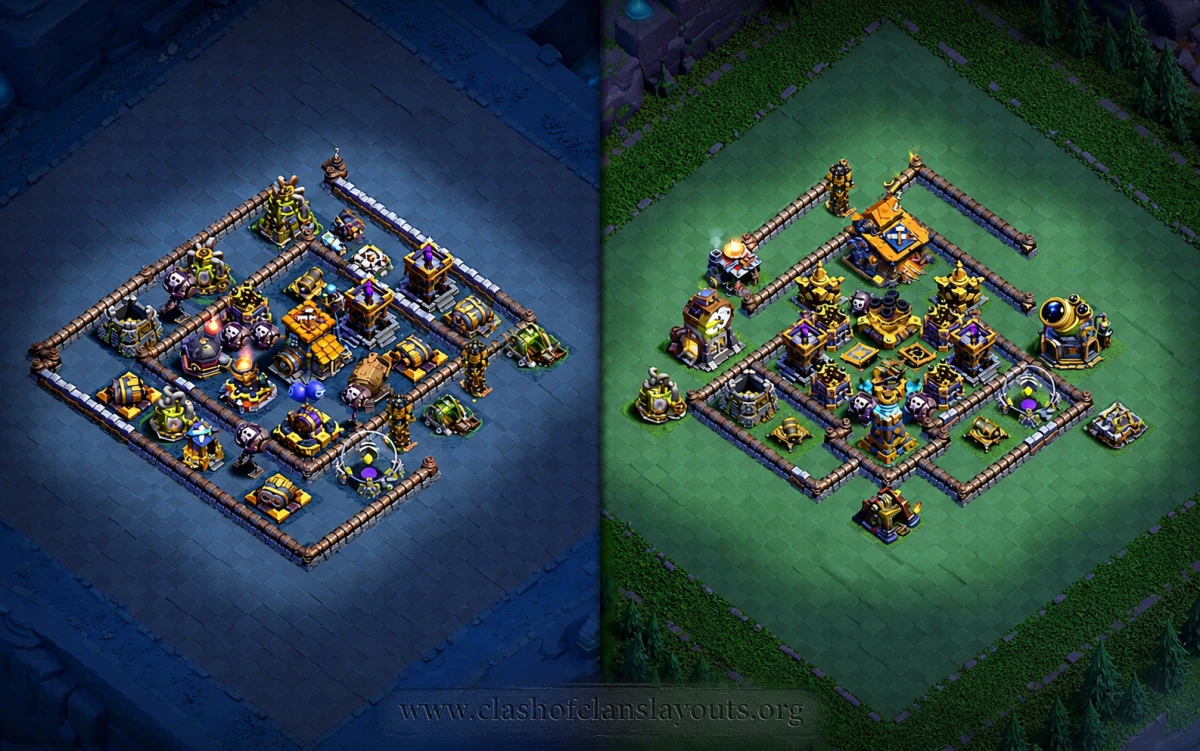
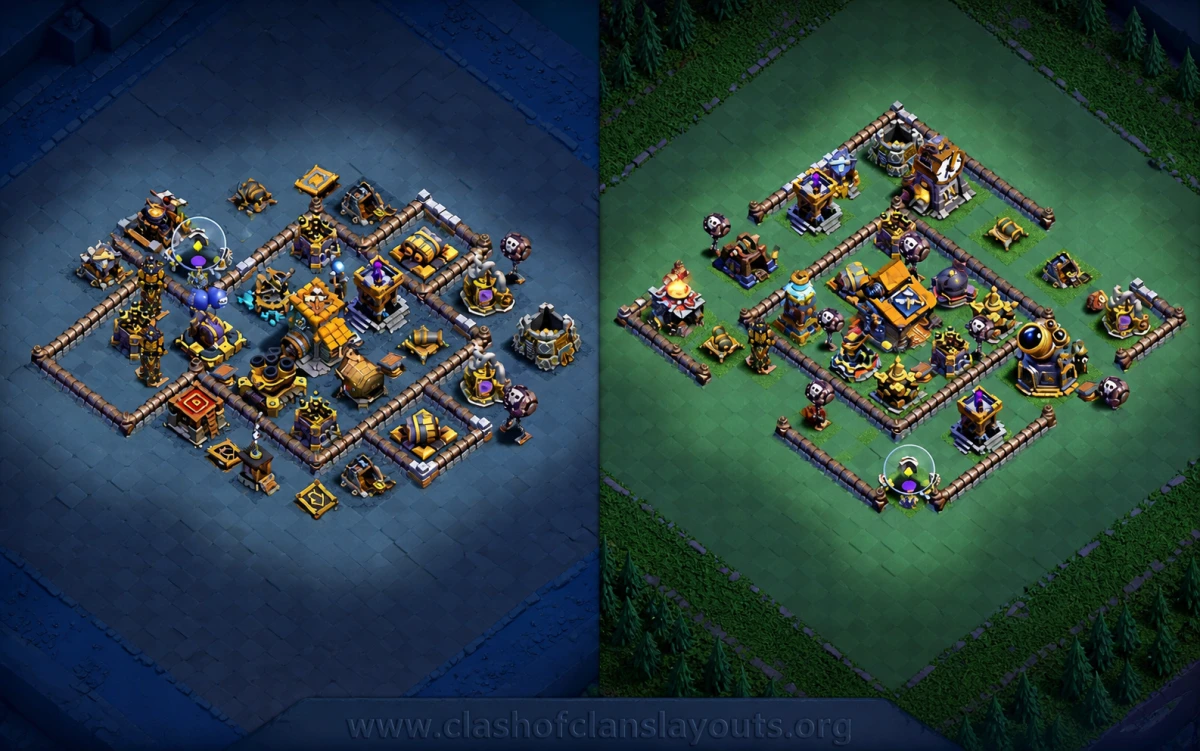
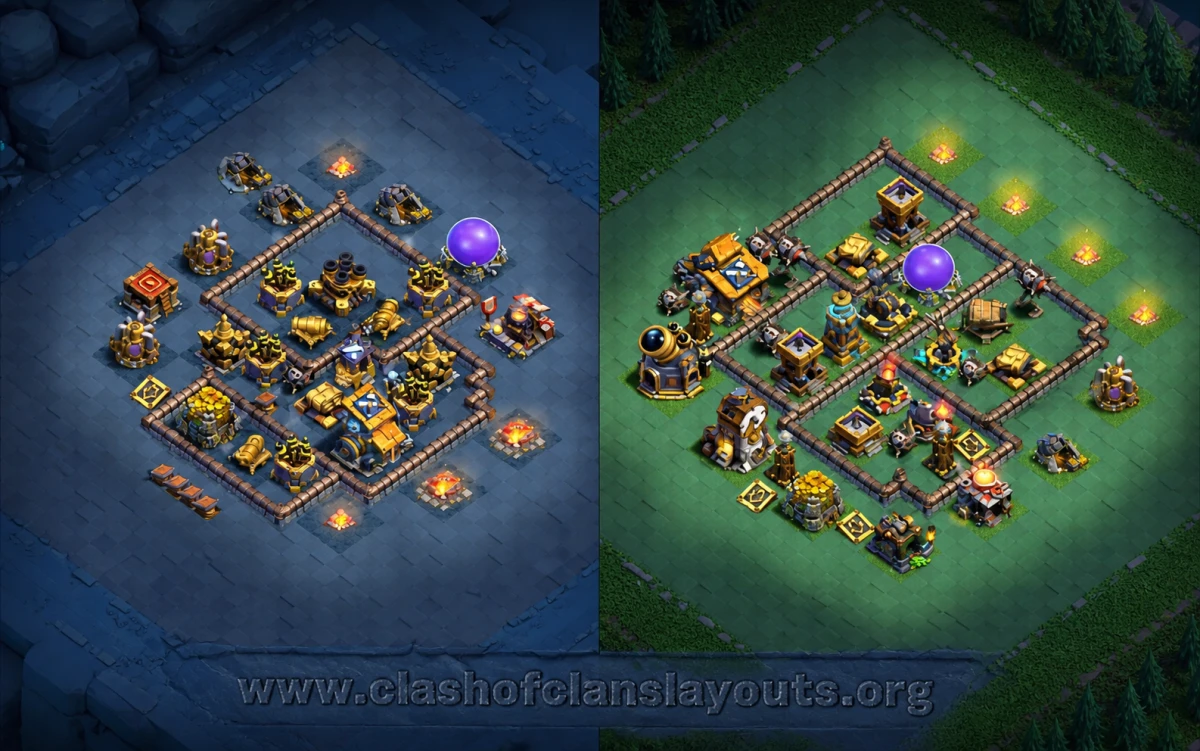
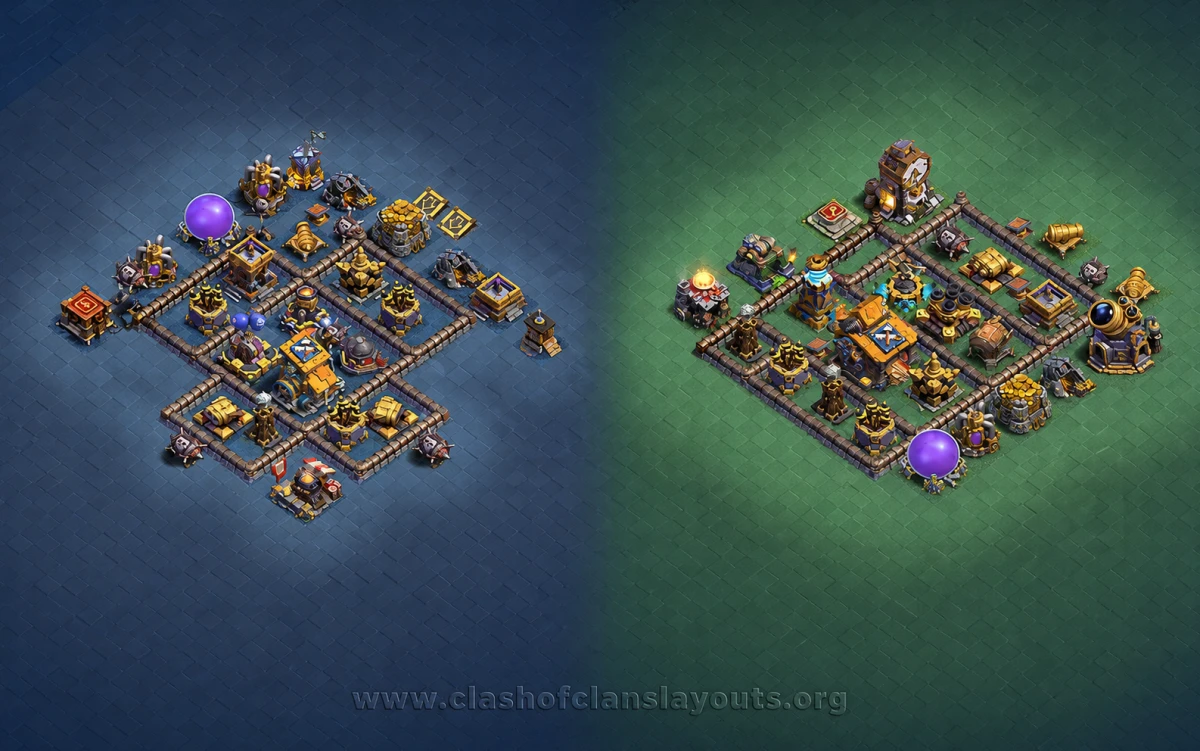
This BH10 base uses a compact diamond-style structure with several small compartments packed tightly around the center. The main defensive idea is to deny clean pathing into the core while forcing troops to step through multiple layers instead of getting immediate value on the strongest defenses. The Builder Hall sits off to the lower-right side rather than dead center, which can bait direct pressure toward that edge while the heavier defenses in the middle keep firing.
The core looks built around concentrated damage and short transitions between defenses. The Roaster, multi mortar area, and central support defenses are close enough to protect each other, while side compartments make it harder for attackers to open everything at once. The Mega Tesla is placed toward the upper-right side of the core, giving that side extra punishment for air troops and for units that drift in without good tanking.
Ground attacks are likely meant to break awkwardly through the lower-right or left side first, then turn into the central compartments under layered fire. Air attacks do not get a simple straight line either. With defenses spread across different angles of the base, minions, baby dragons, and dropship-based attacks can lose momentum if they do not secure the right edge early. If this structure matches what you need on defense, you can use the copy-layout option to load it directly into Clash of Clans.
Strengths
This layout does a good job of making attackers commit before they get core value. It does not hand out easy access to the center, and the building placement creates several points where troops can split instead of staying on a clean route.
- Layered compartments: Small sections slow down ground troops and reduce the chance of one clean push through the base.
- Core defense overlap: Key defenses are close enough to support each other once troops enter the middle.
- Builder Hall side pressure: The Builder Hall is protected by nearby defenses and walls, but it is still offset enough to influence attacker entry.
- Awkward air movement: Air troops do not get a wide open sweep across one side of the base.
- Good defensive density: The base keeps a lot of defensive coverage in a tight space, which is useful in Builder Base where fights snowball quickly.
Builder Hall Side Defense
The lower-right section is the most important decision point in this layout. It holds the Builder Hall in a defended pocket instead of isolating it on the edge, which is smart for making attackers work for it. At the same time, that area can shape the whole attack because many players will naturally test it first. If they overcommit there, the middle defenses get more time to work. If they ignore it, they may struggle to finish the second phase of the base cleanly.
Core Damage Coverage
The middle of the base is where this design has its best defensive value. The central compartment network keeps troops under fire from several directions once they break in. This is especially useful against spam-heavy ground attacks that rely on keeping all units together. Instead of one smooth collapse, the base tries to make that push stall in stages.
The concentrated core also helps against attackers who depend on picking off one major defense at a time. Here, taking one section usually means stepping into range of another.
Ground Attack Pathing
From a ground perspective, this base is strongest when the attacker fails to control troop direction. Openings from the lower-right, left side, or upper-left can all look playable, but each of them risks sending units around compartments instead of straight through them. That is valuable in Builder Base because even a small pathing mistake can cost the second star or leave a high-hitpoint structure standing at the end.
Bomber support is important against this kind of layout, and that is exactly why the wall structure matters here. The compartments are not oversized, so every break matters. If the first wall openings are inefficient, the rest of the attack can unravel quickly.
Air Attack Considerations
Against air, the key detail is that the defenses are not stacked in one obvious line. The Mega Tesla side adds danger to sloppy entries, while the central coverage can punish troops that drift into the middle without removing support defenses first. Baby Dragon attacks in particular may have a hard time keeping clean funnel value because the base is compact and does not leave many isolated pickoffs near the core.
Dropship and minion attacks can still work if they cut a smart lane into the center, but this layout at least asks for planning instead of allowing a simple sweep.
Who Should Use This Layout
This is a solid BH10 base for players who want a compact defensive setup rather than a wide ring-style design. It fits well if you prefer forcing awkward entries and making attackers commit into layered compartments. It is especially useful for players who often face direct Battle Machine pushes or loose airspam