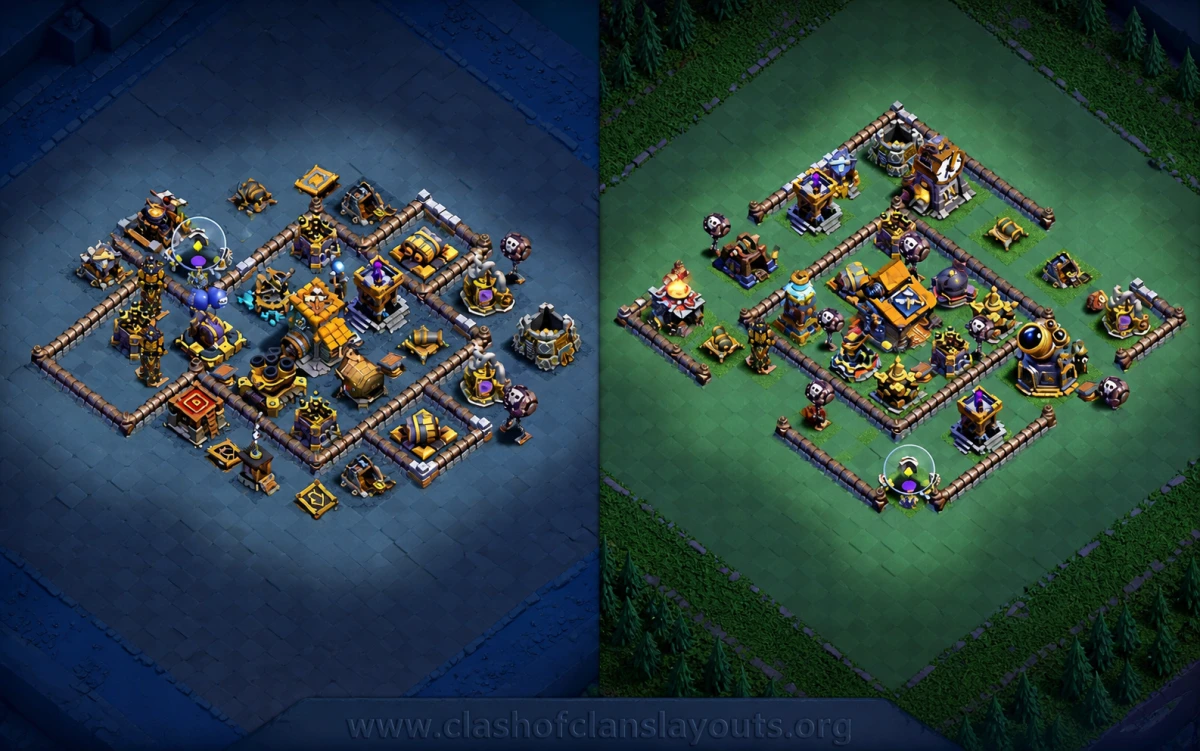
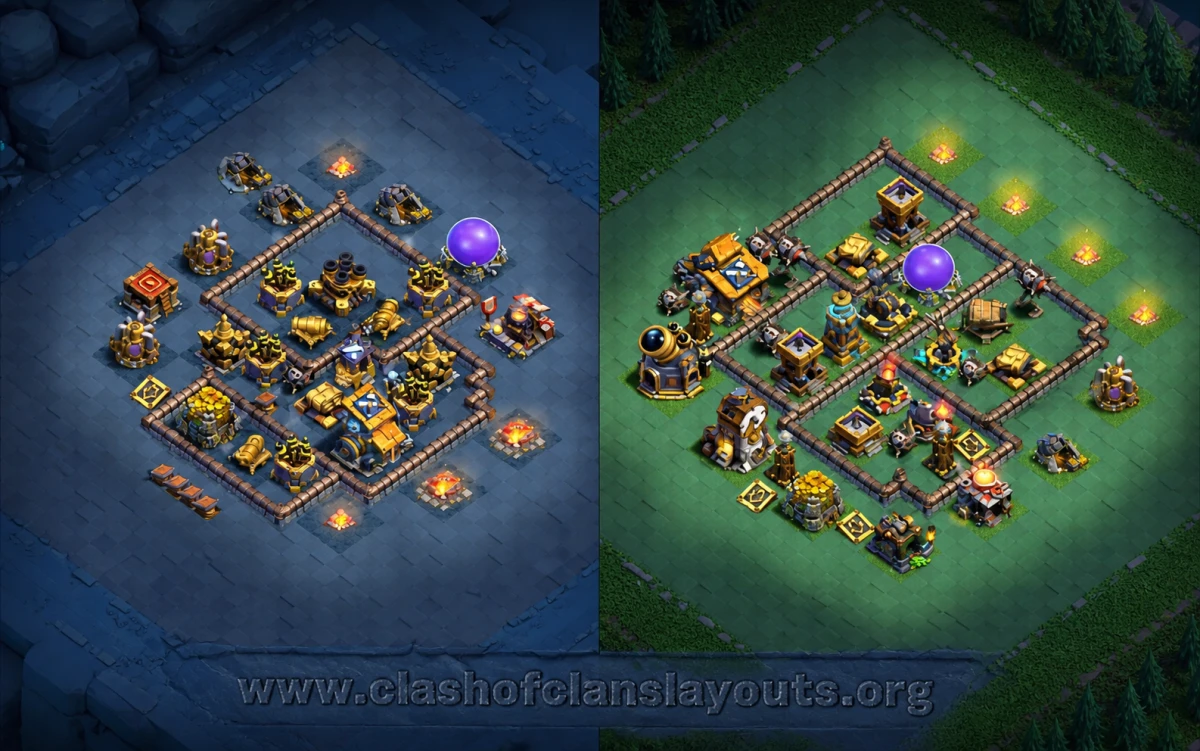
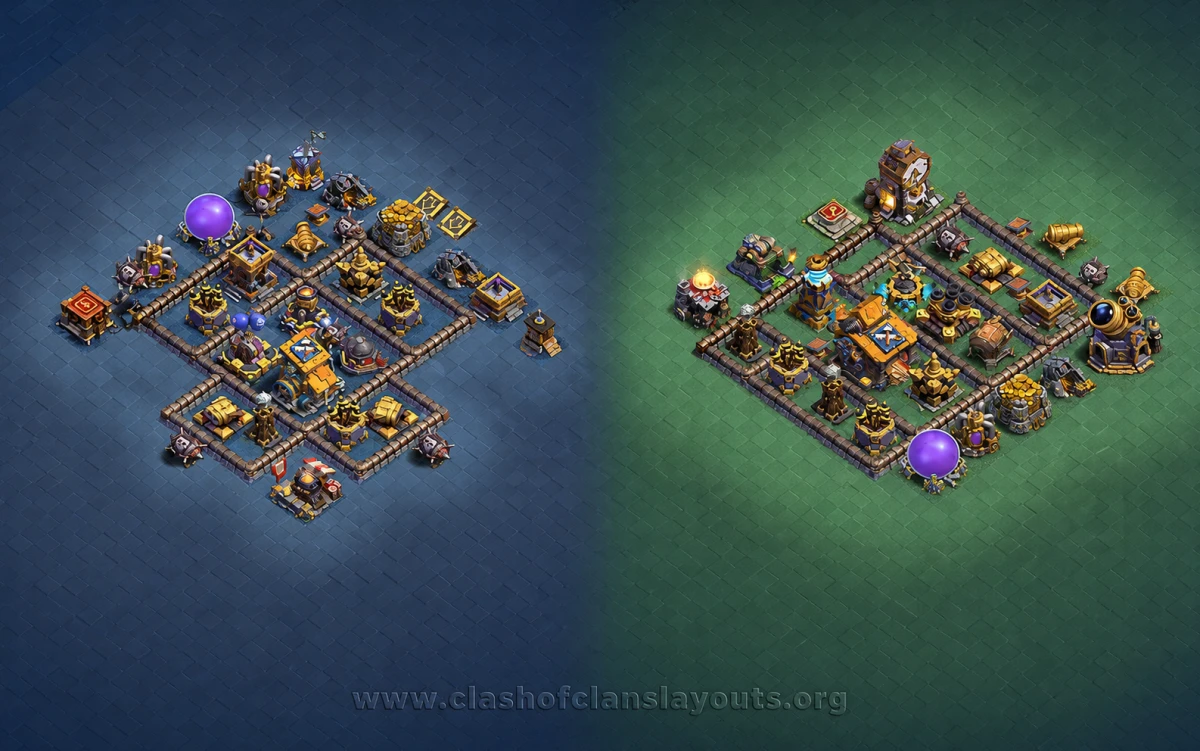
BH10 Base Layout with Central Core Pressure

Latest Reviews
Strategy Explanation
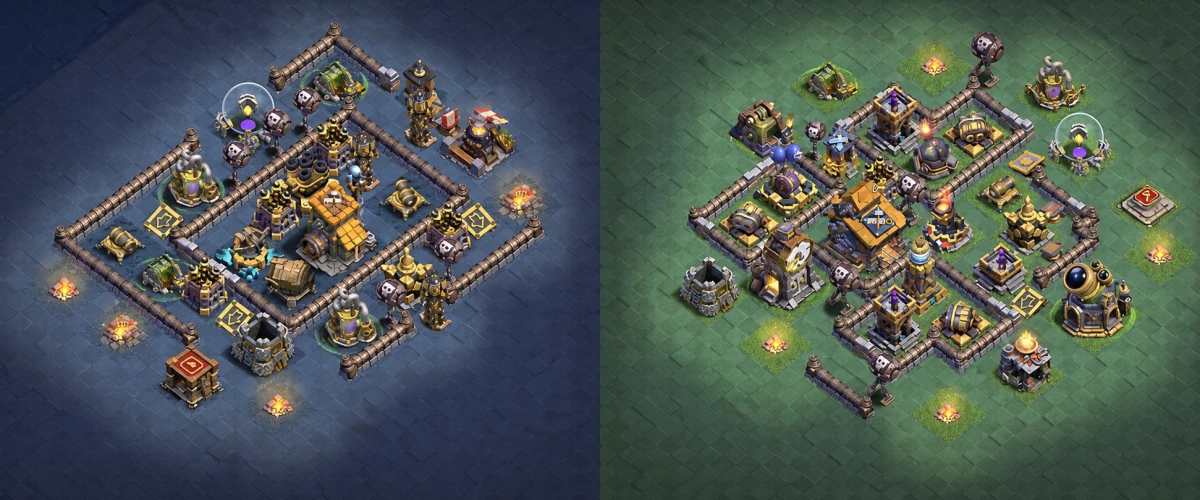
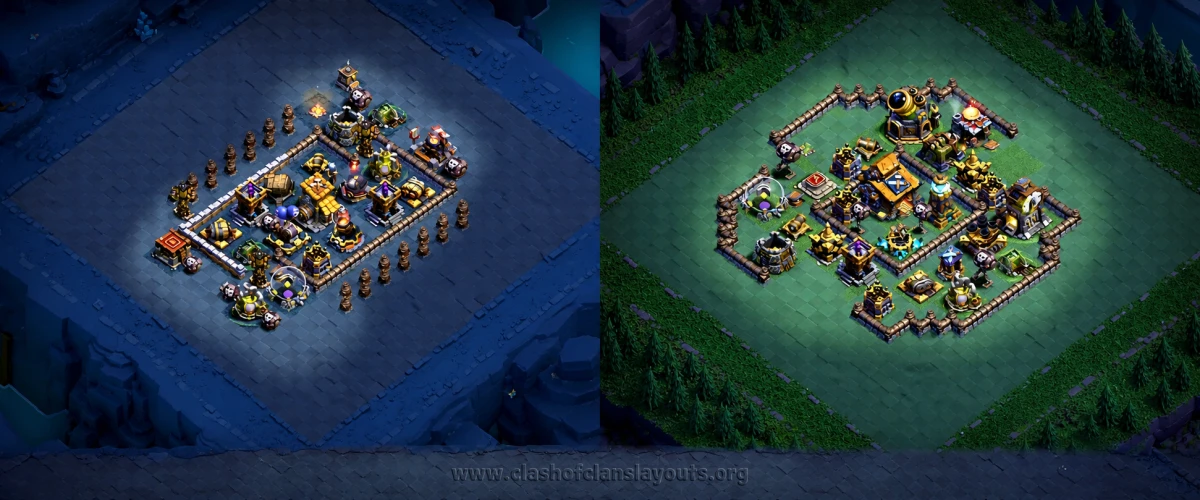
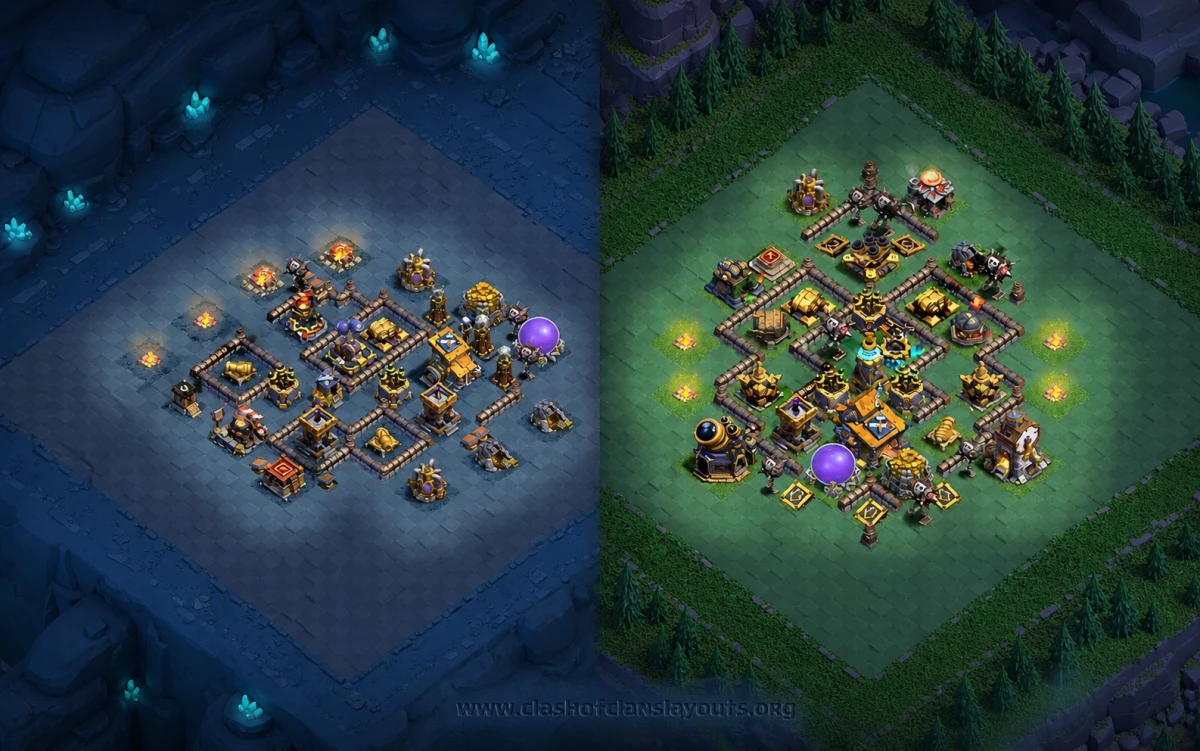
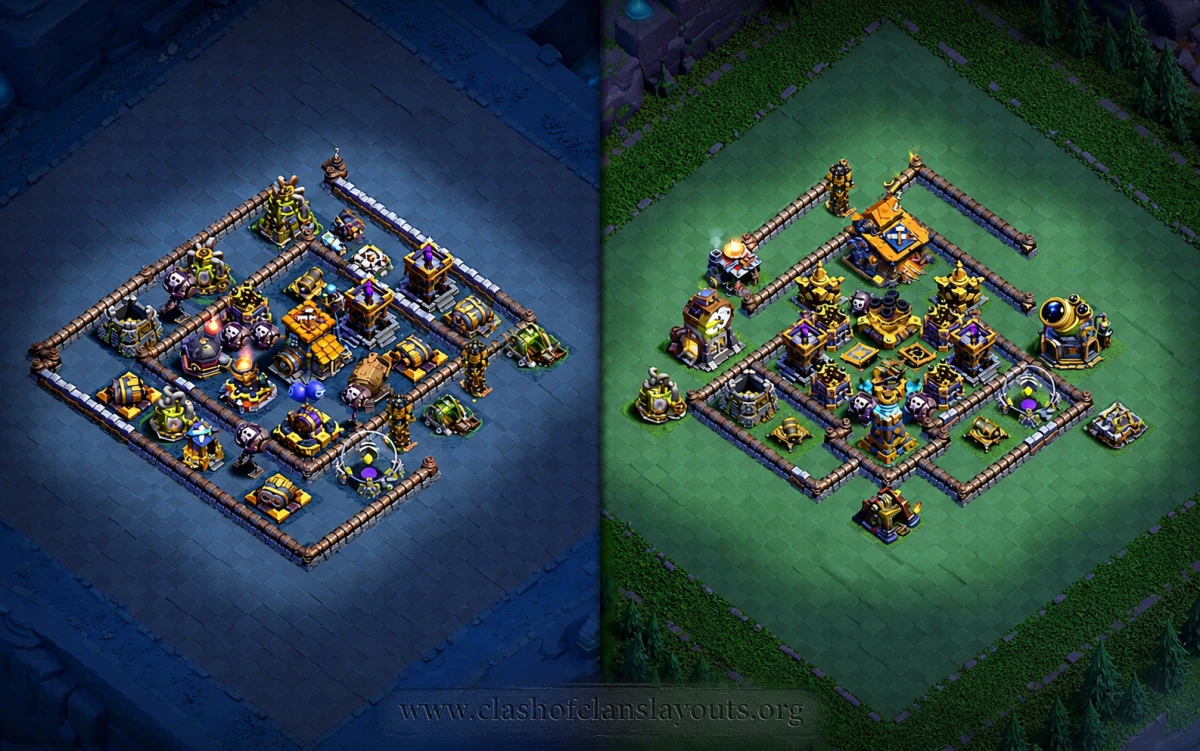
This BH10 base uses a compact diamond-style structure with several small compartments packed around the middle. The Builder Hall sits on the lower-left side rather than dead center, which changes how attackers approach the base. Instead of giving easy value straight through the middle, the layout makes troops step through layers while key defenses continue firing from protected spots.
The central area holds a lot of the real defensive weight. The Roaster, multi-target defensive coverage, and core point defenses are stacked close enough to punish troops that break inside too early. The Lava Launcher is placed toward the upper-right side of the base, giving it room to pressure pushes that try to move through the central lanes. Air-targeting defenses are also spread around the base instead of being clumped together, which helps cover multiple approach angles.
Because of the way the compartments are shaped, this layout looks built to slow direct spam attacks and make funneling awkward. Troops entering from the Builder Hall side can get pulled around the outer layer before they reach the core. Entries from the right side also have to deal with separated compartments and defensive coverage coming from the center. The result is a base that tries to waste troop time and split tanking rather than simply stacking everything around one obvious kill zone.
Strengths
This base has a strong compact shell with good internal protection for the highest-value defenses.
- The core is dense, so troops that break in are under fire from multiple defenses at once.
- Small compartments reduce clean pathing for Boxer Giants and other ground-heavy openings.
- The Lava Launcher sits away from the Builder Hall side, making it harder to remove everything important in one push.
- Air defenses are not all grouped together, so one clean air entry does not remove all anti-air coverage at once.
- The offset Builder Hall can bait attackers into committing early without getting full core value.
Builder Hall Protection
The Builder Hall placement is one of the more interesting parts of this layout. It is accessible enough to attract an attack from the lower-left, but not so exposed that it falls for free. Defenses around that side can punish players who overcommit to the Hall too early. This is useful in Builder Base, where forcing awkward troop trades for the first stage can matter as much as protecting every building evenly.
If this matches how you like to defend in versus battles, you can use the copy-layout option to drop it straight into Clash of Clans and test how opponents choose their entry.
Ground Attack Pathing
Ground armies will usually want to start from the lower-left or lower-right because those sides offer the most direct access into compartments. Even then, the wall breaks are not clean. Troops can step sideways, split between layers, or get delayed under concentrated fire from the middle. Boxer Giants and Cannon Carts can still work here, but they need a clean opening and careful support timing. If the push drifts, the core defenses should get extra shots.
The narrow inner channels also help against simple Pekka or spam-style entries. Once troops start rerouting between compartments, the attack loses tempo, and the central defenses gain value.
Air Attack Considerations
This BH10 layout is reasonably solid against air because the anti-air tools are not all sitting in one pocket. A Drop Ship and Beta Minion player can still look for edge value, but the spread coverage means they need to commit deeper before the base really opens up. The Roaster in the inner area is especially important here because it keeps threatening minion support once the tanks move inward.
The shape also limits easy air sweeps across one side. Air troops are more likely to circle around sections instead of collapsing the whole base from a single line.
Compartment Value and Core Access
The main defensive idea is not just protection, but delayed access. Each small compartment adds friction. Even when attackers make progress, they do not always reach the next high-value target immediately. That matters a lot on BH10, where one stalled troop group can change the entire attack.
This is the kind of Builder Base layout that relies on structure more than gimmicks. It does not pretend to shut down every attack style, but it does force more precise planning than open BH10 bases with obvious straight-line paths.